

Last updated October 31, 2026
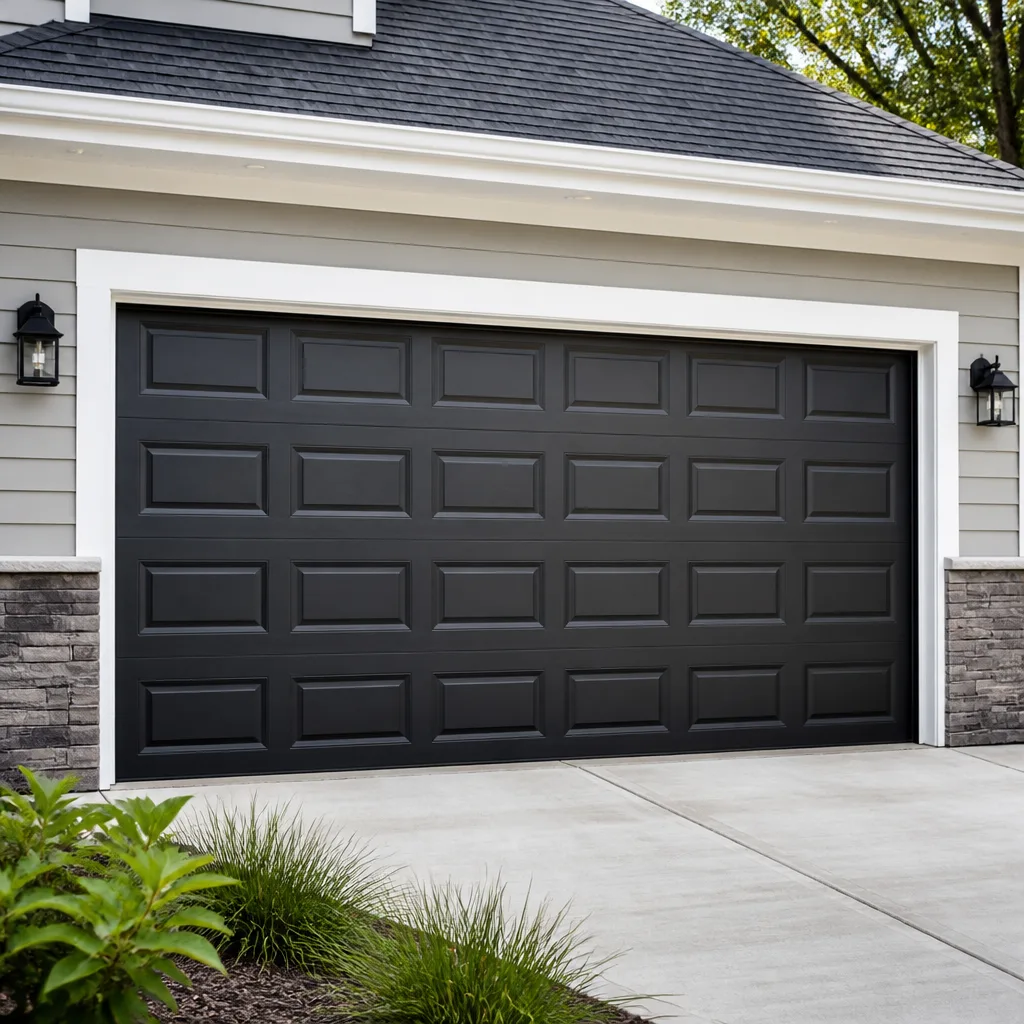 Raised-panel steel
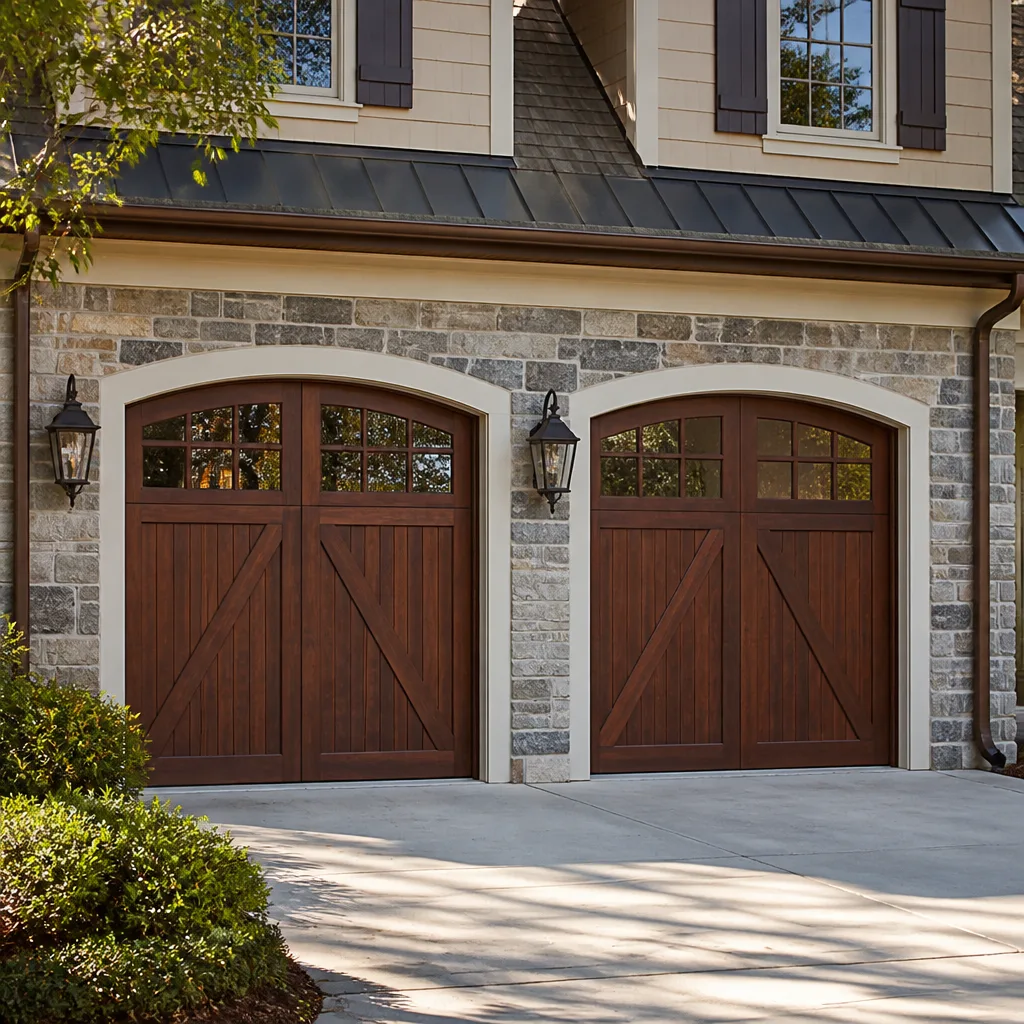 Carriage house
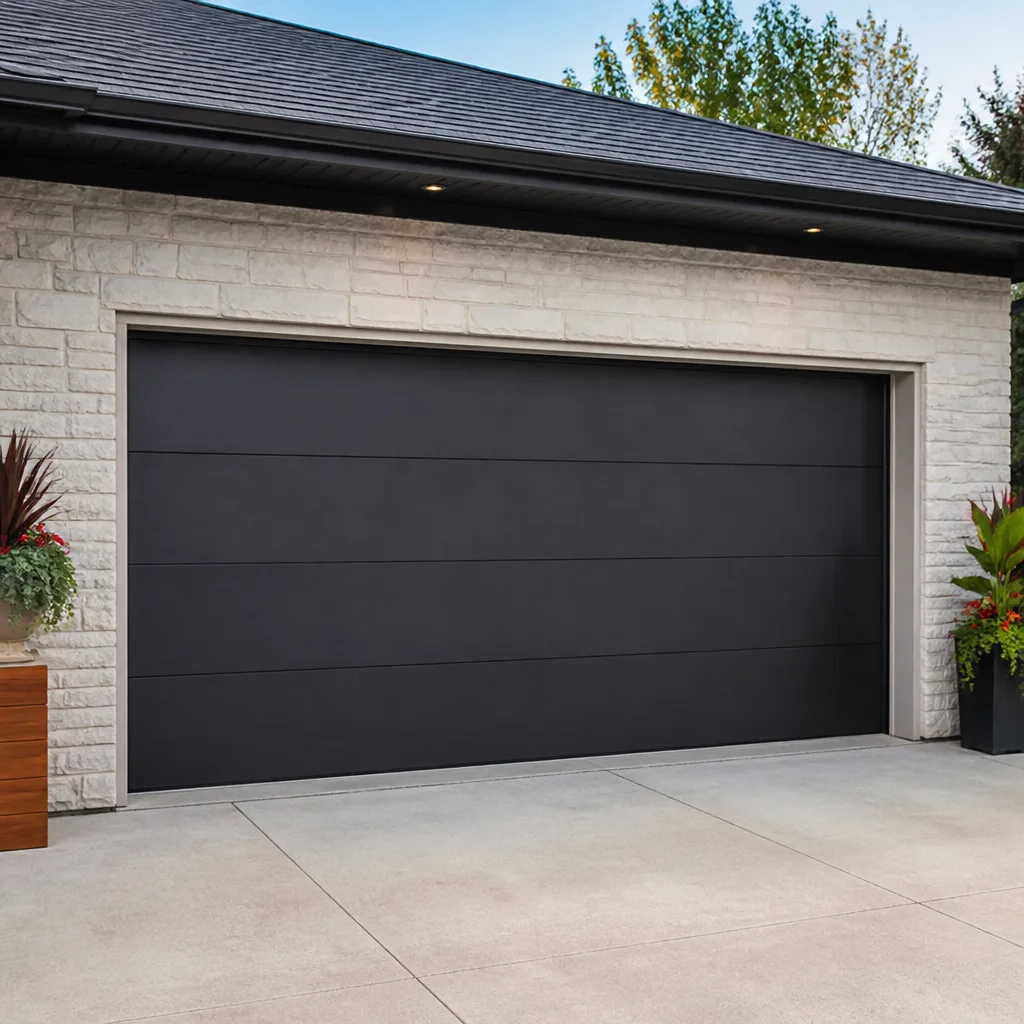 Modern flush
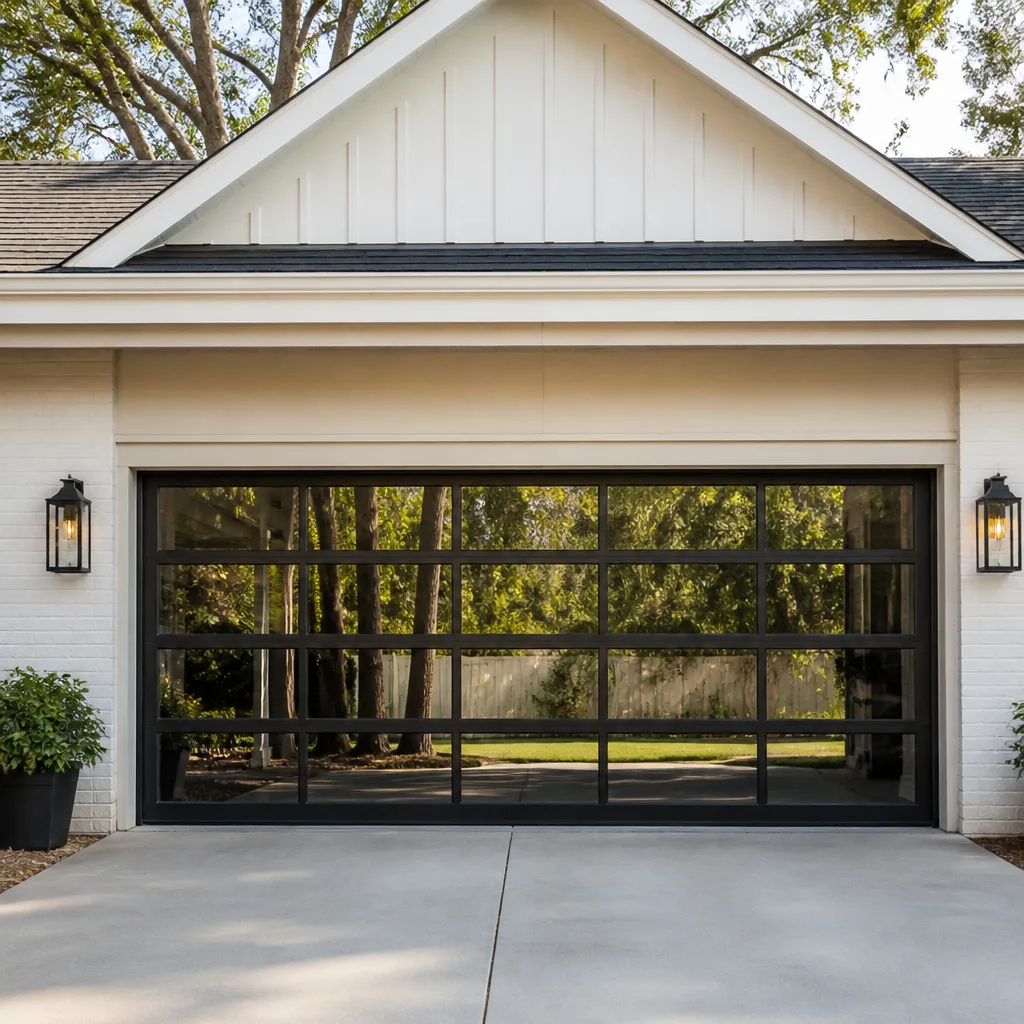 Full-view glass
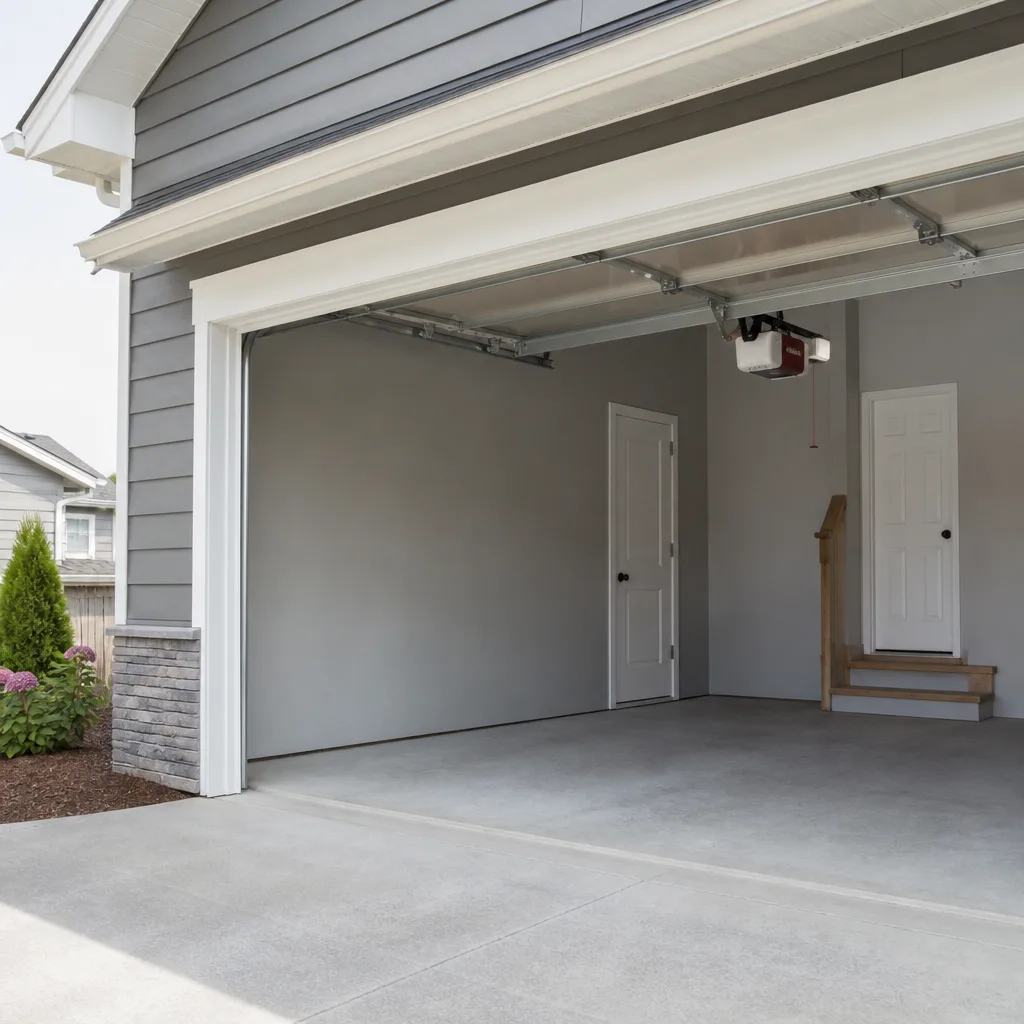 LiftMaster openers
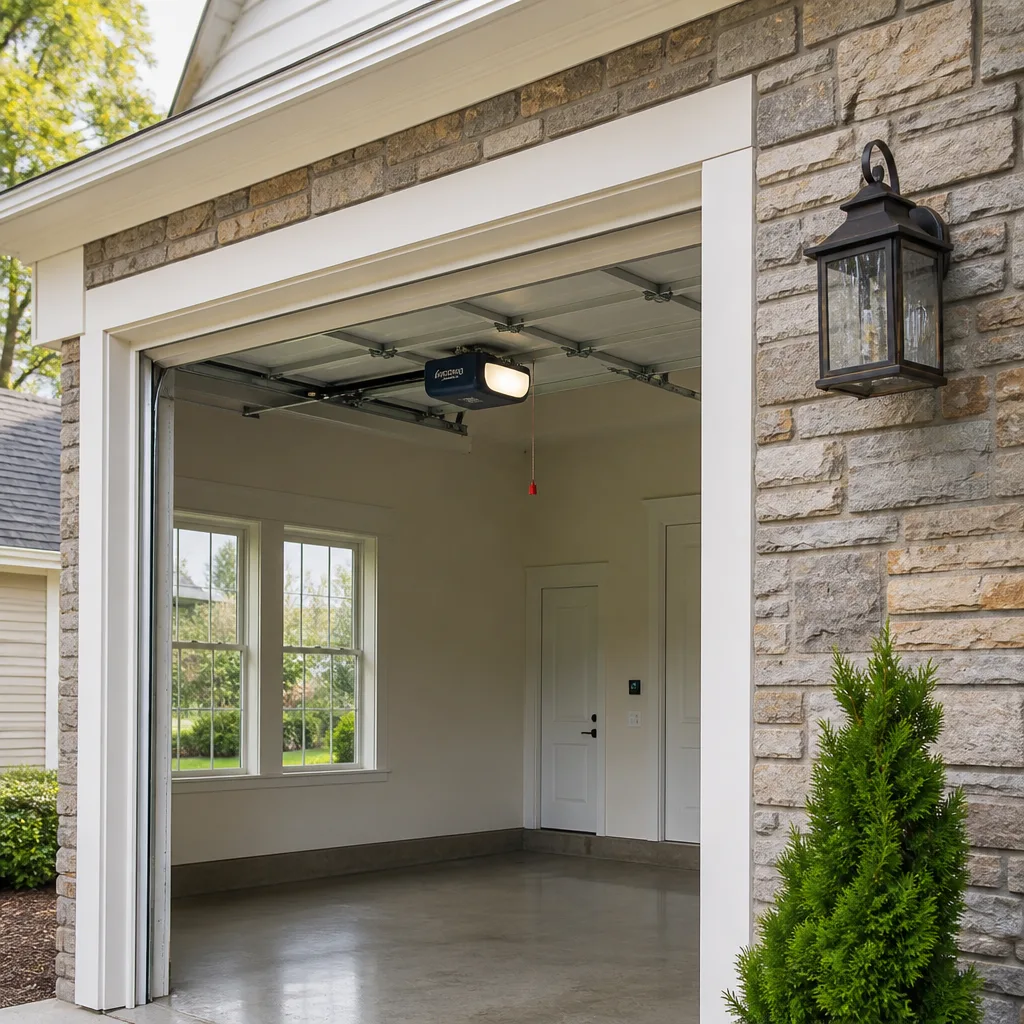 Chamberlain openers
Full 25-point door and opener safety check with every visit - springs, cables, rollers, tracks, and your LiftMaster or Chamberlain opener included
You get a price before we start. It does not change when the truck arrives.
Get your free estimateGarage Door Repair Troubleshooting: Common Problems and How to Fix Them
The most common misdiagnosis we see in garage door repair is also the most expensive: a homeowner replaces a perfectly functional opener because the real culprit was a $4 logic board capacitor, or a misaligned safety sensor sitting 0.3 inches out of spec. In Lakeland, where afternoon thunderstorms roll through with lightning strikes that scramble opener logic boards, we get these calls weekly. This guide works backward from actual failure modes, not symptom checklists. You’ll learn how to distinguish opener failure from mechanical failure without tools, which problems you can safely fix yourself, and which ones carry serious injury risk if you touch them wrong.
Quick Answer
Garage door troubleshooting starts with one question: does the door move at all when you press the button? If it doesn’t move, disconnect the opener and try lifting the door manually; if the door is heavy or stuck, you have a mechanical problem, not an opener problem. Most no-movement failures trace to dead opener logic boards, misaligned safety sensors, or broken springs; most partial-movement failures trace to track alignment, cable issues, or limit switch settings. Before replacing any part, rule out the cheap fix first.
Styles & brands we work with
Table of Contents
- The Four Symptom Categories: A Decision-Tree Framework
- The Manual Release Test: Separating Opener Failure from Door Failure
- Safety Sensor Troubleshooting: Photoelectric vs. Edge-Sensing Systems
- Torsion Spring Failures: One-Spring vs. Two-Spring Risk
- Track Alignment: The Masquerading Problem
- Limit Switches and Force Settings: Why Your Door Reverses
- Brand-Specific Quirks: What to Check Before You Replace Anything
- Common Mistakes to Avoid
- When to Call a Professional
- Frequently Asked Questions
The Four Symptom Categories: A Decision-Tree Framework
Every garage door failure lands in one of four buckets. Most troubleshooting guides give you a list of twenty symptoms and tell you to hunt through them. That’s backwards. You work from the failure mode, not the symptom. In Lakeland, humidity plus salt air from the Gulf means we see specific failure patterns that drier climates don’t, but the diagnostic framework stays the same anywhere.
Category 1: Door won’t move at all. No noise, no motion, nothing. This points to the opener receiving no power, a dead logic board, or a safety sensor blocking the circuit. When the door won’t move but the opener hums or clicks, that’s a different bucket entirely.
Category 2: Door moves partially, then stops. It lifts six inches and dies, or closes halfway and jerks back. This is almost always a mechanical binding issue, a track obstruction, or a broken spring that the opener is fighting against. Openers that fight against a broken spring trip their internal overload protection.
Category 3: Door moves but reverses. It starts closing, then reverses back up. Or it starts opening, then goes back down. This points to safety sensor issues, limit switch settings, or force sensitivity settings that are out of adjustment.
Category 4: Makes noise but no motion. The opener runs, the chain or belt spins, but the door stays put. This is the classic broken gear, broken sprocket, or stripped coupler pattern, and it’s more common on older opener models.
Here’s the decision tree we use on every service call in Lakeland:
- Does the opener make any sound when you press the button? If no sound at all, check power and the wall button circuit. If sound, move to step 2.
- Does the door move at all, even a few inches? If zero movement but opener runs, suspect the gear or coupler. If partial movement, move to step 3.
- Does it reverse before completing the cycle? Yes means sensors or limits. No means track or spring.
- Disconnect the opener and try the door by hand. This is the single most informative test, and we cover it in detail next.
This framework prevents the most expensive mistake homeowners make: replacing an opener when the door itself was the problem. We work on the brands already installed in homes across Lakeland, LiftMaster, Chamberlain, Genie, and the rest, and the failure patterns hold consistent across all of them. The opener is rarely the root cause when the door still moves partially.
The Manual Release Test: Separating Opener Failure from Door Failure
The manual release test is the highest-value diagnostic step that most guides skip entirely. It takes sixty seconds, requires no tools, and immediately splits your problem into one of two paths. In Lakeland, where many homes have doors that have weathered twenty or thirty Florida summers, this test catches springs that have lost tension and tracks that have shifted out of alignment.
How to run the test:
- Close the door if it’s open. If it’s stuck open, that’s your first data point.
- Find the red emergency release cord hanging from the opener rail. It’s the red handle on a rope.
- Pull down firmly and release. You’ll hear a click as the carriage disengages from the chain or belt.
- Lift the door by hand using the handle or bottom edge. Evaluate what you feel.
What the results tell you:
- Door lifts smoothly and stays open by itself: The door is balanced. Your springs are functioning. The problem is in the opener, the sensors, or the limit switches. You just ruled out the most expensive mechanical repairs.
- Door is heavy, requires serious effort to lift, or won’t stay up: You have a spring problem. A door that weighs 150 to 200 pounds should feel like it weighs ten to fifteen pounds when properly balanced. If it feels like dead weight, one or both springs have failed or lost tension.
- Door lifts partway and binds, scrapes, or sticks: You have a track alignment or roller problem. Something is physically obstructing travel.
- Door won’t lift more than a few inches: Check for a jammed roller, an object blocking the track, or a cable that has come off its drum.
- Misalignment: The most common issue by far. A bump from a car tire or a lawnmower handle knocks one sensor off-angle. The beam misses the receiver by a fraction of an inch, and the opener thinks something is in the way.
- Dirty lenses: Dust, spider webs, grass clippings, or Florida pollen coat the lens and diffuse the beam.
- Wiring issues: Sensor wires run through the wall to the opener head. Rodents chew them, staples cut through insulation, and humidity corrodes splice connections.
- Sun interference: Direct sunlight hitting the receiver can overwhelm the infrared signal. This happens in the afternoon on west-facing garage doors in Lakeland, and it’s a nuisance because it’s intermittent.
- LiftMaster and Chamberlain (same parent company, shared design): Both sensor units have a small LED. A solid green light on the sending eye and a solid green on the receiving eye means aligned and working. A blinking or off light on either eye means misalignment or wiring fault. On newer myQ models, the opener’s main light flashes ten times when the sensor circuit is interrupted.
- Genie: Genie uses a single indicator on the receiver. A solid red means aligned. Blinking red means misaligned or obstructed. No light means power or wiring failure.
- Craftsman older models: The sensor LEDs are amber on the sender and green on the receiver. Both solid means working. Either blinking means misalignment.
- Wipe both sensor lenses with a dry cloth. This fixes about a third of sensor issues instantly.
- Check the indicator lights against the brand patterns above. If one is blinking or off, you have misalignment or wiring, not dirt.
- Loosen the wing nut on the misaligned sensor and slowly pivot it until the indicator light goes solid. Tighten the nut gently, don’t overtighten and crack the plastic housing.
- If the light won’t come solid no matter the angle, check the wire connections at the sensor and at the opener head. Look for corrosion, loose terminals, or damaged insulation.
- If both lights are solid but the door still won’t close, the problem is not the sensors. Move to the limit switches or force settings.
- Look up at the spring above the door. A broken torsion spring has a visible gap, usually two to four inches, somewhere along its length. The two halves are separated at the break point.
- Listen for the sound. Springs break with a sharp bang that homeowners often mistake for a car backfiring or something falling in the garage.
- Watch the door during operation. If it lifts unevenly, one side higher than the other, that’s a classic one-of-two spring failure.
- Try the manual release test from earlier. If the door is heavy on one side but not the other, a single spring has failed in a two-spring system.
- The door is noisy but operates, grinding or scraping that’s worse at certain points in the travel.
- You can see gaps between the rollers and the track, or the track itself looks wavy along the vertical section.
- The door has been hit, by a car bumper, a basketball, or a bicycle, and problems started after that impact.
- The door fails at the same spot in its travel every time, stops at eight inches, reverses at the halfway point, but works fine otherwise.
- Replacing parts didn’t fix anything. If you’ve swapped rollers, cables, or springs and the door still misbehaves, look at the track.
- Rule out the safety sensors first. Both indicator lights solid? Then you can rule them out.
- Watch where the door reverses. Same spot every time? That’s a limit switch problem or a track bind at that point. Different spots? That’s a force setting or resistance issue.
- Clean and lubricate the track and rollers. In Lakeland’s climate, rollers collect grit and drag. A door that reverses intermittently often just needs the friction reduced.
- Adjust the force setting up one increment. If the door now completes its cycle, the force was too low. Don’t jump multiple increments, and never set the force high enough that the door won’t reverse when it hits something solid. Test it with a 2×4 laid flat under the door; the opener should reverse on contact.
- If the reversal persists at the same point, adjust the down limit. On mechanical units, turn the down-limit screw a quarter turn at a time. On electronic units, follow the programming steps in your manual.
- Replacing the opener before checking the door. The opener is the most expensive single component, and it’s also the least likely to be the root cause of a door that still moves but misbehaves. Always run the manual release test first. An opener that struggles against a broken spring isn’t broken, it’s working correctly and failing safely.
- Spraying lubricant on the tracks. Tracks should be clean and dry. Lubricant on the track attracts dust and grit, and it makes the rollers slide instead of roll, which accelerates wear on both rollers and track. Lubricate the roller bearings, hinges, and spring coils, never the track surface itself.
- Adjusting sensors without checking the indicator lights first. The lights tell you what’s wrong. A solid green on both means the sensors are fine and the problem is elsewhere. Chasing sensor alignment when the sensors are already aligned wastes an hour and solves nothing.
- Ignoring the loud bang. A spring breaking sounds like a gunshot. If you hear it and the door still works, you have a two-spring system where one side failed. Continuing to use the door overloads the remaining spring. Stop using the door until the broken spring is replaced.
- Tightening every bolt you can find. Garage door hardware includes bolts that must be snug and bolts that must allow movement. Overtightening the bolts on hinge attachment points can crack panels. Overtightening track brackets can bind the door. If you’re doing a bolt-by-bolt tightening pass, you’re likely creating new problems.
- Bypassing the safety sensors. You can wire the sensors together to force the door closed, and people do it when the sensors are on the fritz. The door operates fine now, but you’ve disabled the mechanism that stops the door from crushing a child, a pet, or a bike. The fix is fixing the sensors, not eliminating them. No door is worth that risk.
- Testing force settings with a cardboard box. The obstruction test needs something solid, like a 2×4 laid flat. An empty cardboard box collapses without triggering the reversal, and you walk away thinking your opener is safe when it isn’t.
If your door falls into the “heavy” category, do not keep lifting it. A door with a broken spring can slam down with enough force to cause serious injury, and the cables are under high tension even when the spring is broken. This is the point where you call a specialist. Lift Line our Garage Door Repair services all eight major brands, LiftMaster, Chamberlain, Genie, Clopay, Amarr, Wayne Dalton, Craftsman, and Raynor, and the repair-first approach means we’re looking for the mechanical fix before recommending replacement.
Safety Sensor Troubleshooting: Photoelectric vs. Edge-Sensing Systems
Safety sensors are the most common cause of a door that refuses to close or reverses immediately. The technology differs between systems, and the diagnostic path depends on which one you have. In Lakeland, we see sensor failures spike after heavy rainstorms, when mud splashes onto lenses and spider webs collect moisture that shorts the wiring.
Photoelectric sensors are the pair of small boxes mounted on either side of the door track, about six inches off the floor. One sends an invisible infrared beam, the other receives it. If anything breaks that beam while the door is closing, the opener reverses. These sensors fail in predictable ways:
Edge-sensing systems work differently. Instead of a beam, they use a pressure-sensitive strip on the bottom edge of the door. When the strip contacts something while closing, it sends a signal to reverse. These are more common on older doors and certain commercial models. Edge sensors fail when the strip gets cut, the internal wiring breaks from repeated flexing, or the connection at the opener corrodes.
Brand-specific indicator light codes for LiftMaster and Chamberlain:
Here’s the fix sequence we use in the field, and it applies to every brand:
Sensor problems are genuinely DIY-fixable in most cases. The parts are low-voltage and the failure mode is simple. But if the wiring inside the wall is damaged, that’s a different job, and it’s when we’d recommend calling a specialist rather than fishing wire through drywall. Our Garage Door Opener Repair in Jan-Phyl Village work frequently involves tracing sensor wiring that homeowners can’t easily access.
Torsion Spring Failures: One-Spring vs. Two-Spring Risk
Torsion springs are the most dangerous component on a garage door, and they’re also the most commonly misunderstood. When a spring breaks, the failure is loud, it sounds like a gunshot inside your garage. In Lakeland, where doors cycle open and closed multiple times daily in homes where people park in the driveway but use the garage for storage, springs wear out faster than the national average. A standard torsion spring is rated for about 10,000 cycles, and a cycle means one open and one close.
The critical distinction: one-spring and two-spring systems.
A single-spring system uses one large spring mounted above the door. When it breaks, the door has zero counterbalance on that side. The door will not lift manually, and if the opener tries to lift it, the opener will strain, shudder, and trip its overload. A single broken spring that snaps while you’re standing near it can cause the cable to whip, and the door can drop hard if it was partially open.
A two-spring system uses two springs, one on each side of the center bracket. Here’s the deception: when one spring breaks, the door still lifts, but only one side is counterbalanced. The door lifts crooked, one side straining against the track while the other side floats. A homeowner who sees the door still moving assumes the problem is minor. They keep using the door. The remaining spring is now doing double duty, and when it fails, it fails catastrophically, often while the door is mid-cycle with a vehicle underneath it.
How to tell if a spring is broken without touching anything:
Do not attempt to replace a torsion spring yourself. The spring is wound under hundreds of pounds of torque. The winding bars used to tension it are half-inch steel rods, and if one slips, it becomes a projectile. Emergency rooms see these injuries every year, and many are severe. This is not a YouTube project. The cost of a professional spring replacement is a fraction of what an ER visit costs after an attempted DIY fix goes wrong.
Our repair-first philosophy at Lift Line Garage Door Repair home means we replace springs before recommending a new door. In Lakeland, a spring replacement is typically the most cost-effective repair on a door that’s otherwise in good condition. We quote the price before any work starts, and that price includes the spring matched to your door’s weight and cycle rating, not a one-size-fits-all part.
Track Alignment: The Masquerading Problem
Track alignment problems are the great imposters of garage door repair. A door that’s out of track mimics the symptoms of broken springs, bad cables, worn rollers, and even opener motor failure. Homeowners replace part after part, and the door keeps failing, because the root cause was never the parts, it was the geometry.
Here’s how it plays out in Lakeland homes. A door has been installed for fifteen years. The concrete slab under it settles, which is common in Central Florida where the soil shifts with the water table. The track, bolted to the frame and the ceiling, stays put while the door’s relationship to the track changes by a quarter inch. That quarter inch makes the rollers ride against the track wall instead of in the groove. The door binds. The opener strains. The homeowner replaces rollers, then replaces the opener, and the door still binds.
Symptoms that point to track alignment rather than the parts themselves:
The fix: Track realignment requires loosening the bolts that hold the track to the wall brackets and the ceiling hangers, then adjusting the track so the rollers ride centered in the groove at every point along the travel. The vertical tracks must be plumb, the horizontal tracks must have a slight downward slope toward the back so the door settles into the closed position, and the curve where vertical meets horizontal has to be smooth. This is precise work, and doing it wrong can make a binding door bind worse. It’s also the point where a specialist’s experience pays for itself, because track adjustment is as much feel as measurement.
We see misaligned tracks on doors from every manufacturer. Amarr and Clopay doors with heavy steel construction are more forgiving of minor misalignment, while lighter Wayne Dalton doors show symptoms earlier. The track, not the brand, is the variable. Garage doors are all we do, so a track-alignment call gets diagnosed correctly the first time instead of after three parts replacements.
Limit Switches and Force Settings: Why Your Door Reverses
A door that reverses mid-cycle is the second most common service call we get in Lakeland after sensor issues. The reversal is not random. It’s either the safety sensor circuit doing its job, or the limit switches and force settings telling the opener the door has traveled far enough or met enough resistance. Understanding which one is triggering is the whole diagnostic.
Limit switches tell the opener where the door’s travel ends. On older openers, these are mechanical switches with small screws you turn to adjust. On newer LiftMaster and Chamberlain models, they’re electronic, set through the wall control or the myQ app. When the limits are wrong, the opener thinks the door has reached the floor before it actually has, and it reverses to prevent what it believes is an obstruction.
Force settings control how hard the opener will push before it reverses. If the force setting is too low, normal friction in the track, especially in humid weather when rollers drag, triggers a false reversal. If it’s too high, the opener will grind away at a jammed door instead of stopping, which burns out motors and strips gears. Force settings drift over time, and they also need adjustment when you replace rollers or springs, because the door’s resistance changes.
Quick diagnostic sequence:
Limit and force adjustments are DIY-accessible on most models, but the safety test is non-negotiable. An opener that won’t reverse on obstruction is a genuine hazard, especially in homes where kids play in the driveway. If you’re not comfortable testing it, that’s the moment to call a specialist rather than leave it untested, or see How to Hire a Garage Door Contractor in Lakeland: A Step-by-Step Guide for guidance.
Brand-Specific Quirks: What to Check Before You Replace Anything
Every garage door brand has its failure signatures, the things that go wrong repeatedly on that specific product line. Knowing these saves homeowners money, because the fix is often a $20 part instead of a $400 opener replacement. We service the eight brands that cover the vast majority of American garage doors: LiftMaster, Chamberlain, Genie, Clopay, Amarr, Wayne Dalton, Craftsman, and Raynor. Here’s what we see on the doors themselves as opposed to the openers.
Amarr doors are built heavy, and their steel panels hold up well in Lakeland’s humidity, but their bottom weather seals degrade faster than average in Florida sun. A door that’s letting water under the bottom edge isn’t a structural problem; it’s a $25 seal replacement. Homeowners sometimes assume the door itself is warping when the actual issue is a brittle seal that lost its flex.
Wayne Dalton doors use a proprietary TorqueMaster spring system on many models, which looks completely different from a standard torsion spring setup. The spring is inside a tube instead of exposed on a shaft. The failure symptom is the same, loud bang, door won’t lift, but the repair requires the TorqueMaster-specific components. A generalist who doesn’t recognize the system will tell you the door needs replacing. A specialist replaces the spring inside the tube.
Craftsman doors are still in thousands of Lakeland homes from the Sears era. The doors themselves are workhorses, but their original openers are now decades old, and the logic boards are reaching the end of their service life. A Craftsman opener that works intermittently, especially after a power blip or a lightning storm, often has a failing capacitor on the logic board. That’s a $4 part if you know how to solder, and a complete opener replacement if you don’t. We lean repair-first on these because the door is usually fine, and the opener just needs board-level work.
Raynor doors share many components with other major manufacturers, but their roller brackets are thinner gauge on some entry-level models, and we see them bend when tracks bind. A bent bracket throws the roller out of the track, the door jams, and the homeowner sees a “broken door” when the actual issue is a $15 bracket.
The pattern across all brands: the door is rarely the problem. The components on it, springs, cables, rollers, seals, brackets, are the consumable parts. Same hardware, right knowledge. When a Lakeland homeowner tells us they’ve been quoted a full door replacement, our first question is always about what specific component failed. Because from the cable to the connected opener, most failures are part-level, not system-level.
Common Mistakes to Avoid
These are the specific errors we see repeated across Lakeland service calls. Each one costs the homeowner time, money, or both.
When to Call a Professional
Some garage door problems are genuinely DIY-friendly: cleaning sensor lenses, lubricating rollers, replacing weather seals, even adjusting limit switches on older models. Others are not, and the line is not faint. Torsion spring replacement should always be a professional job. The stored energy in a wound spring is enough to launch a metal rod through drywall, and the injury potential is not theoretical. Cable replacement carries similar risk because cables attach directly to springs and drums, and once released, the tension has to be managed correctly. Track realignment that requires bending or replacing track sections is specialist work. And any electrical diagnosis inside the opener head, beyond checking power, is where you want someone who has done it hundreds of times. For more guides & resources, see our blog. Lift Line Garage Door Repair offers free estimates in Lakeland, call (866) 253-2286, and the repair-first approach means we quote the fix before we recommend the replacement.
Frequently Asked Questions
A garage door that does nothing when you press the button usually means one of three things: no power to the opener, a failed logic board, or a safety sensor circuit that’s interrupting operation. Check that the opener is plugged in and the outlet has power, check the sensor indicator lights, and if both check out, the logic board is the likely culprit. For a quick diagnosis in Lakeland, call (866) 253-2286 and we’ll walk you through the power and sensor checks before anyone schedules a service call.
Garage door repair costs in Lakeland vary by the part and the labor. Sensor replacement or realignment typically runs $85 to $150, roller replacement $95 to $175 for a full set, spring replacement $180 to $350 depending on whether it’s one spring or two, and logic board replacement $150 to $280 on most opener models. The price is quoted and agreed before any work starts, so the number we give you is the number you pay. Call (866) 253-2286 for an exact quote on your specific door and opener.
We understand that a garage door stuck open is an urgent problem, especially in Lakeland where afternoon storms can soak everything in a garage in minutes. When you call (866) 253-2286, we’ll assess the urgency based on your situation and get a technician to you as fast as our schedule allows. Doors that are stuck open and can’t be closed manually are treated as priority calls.
No. The price we quote before starting is the price you pay when the job is done. If we find additional problems during the repair, we stop, show you what we found, and get your approval before doing anything beyond the original scope. No surprises on the invoice, ever.
Our technicians carry the most common spring sizes, cables, rollers, sensors, and opener parts for the brands we service: LiftMaster, Chamberlain, Genie, Clopay, Amarr, Wayne Dalton, Craftsman, and Raynor. Most repairs are completed in a single visit. If your door needs a part we don’t have on the truck, we’ll order it and return, and we’ll tell you that upfront before you pay anything.
Fix it now. Grinding sounds mean metal-on-metal contact, usually in the rollers, the hinges, or the opener gear. The noise itself isn’t dangerous, but the underlying wear is progressing, and ignoring it turns a $150 roller replacement into a $400 gear and sprocket replacement. You’ll save money by addressing the noise early rather than waiting for the failure. Call (866) 253-2286 for a free estimate if you’re hearing grinding in your Lakeland garage.
The Bottom Line
Garage door troubleshooting works best when you start from the failure mode, not the symptom list. The manual release test is the highest-value diagnostic step you can take: it splits opener problems from door problems in sixty seconds. Safety sensors are the most common fixable issue, and the indicator lights tell you exactly what’s wrong. Torsion springs are the most dangerous component, and one-of-two spring failures are sneaky, they let the door keep working while the remaining spring overloads. Track alignment impersonates other failures and explains why doors keep breaking after repeated parts replacements. And the expensive opener is rarely the root cause. When the fix is beyond your comfort level, Lift Line Garage Door Repair handles all eight major brands with a repair-first approach, free estimates, and prices quoted before work begins. Call (866) 253-2286.
Written by the team at Lift Line Garage Door Repair, serving Lakeland since 2012.
See the difference
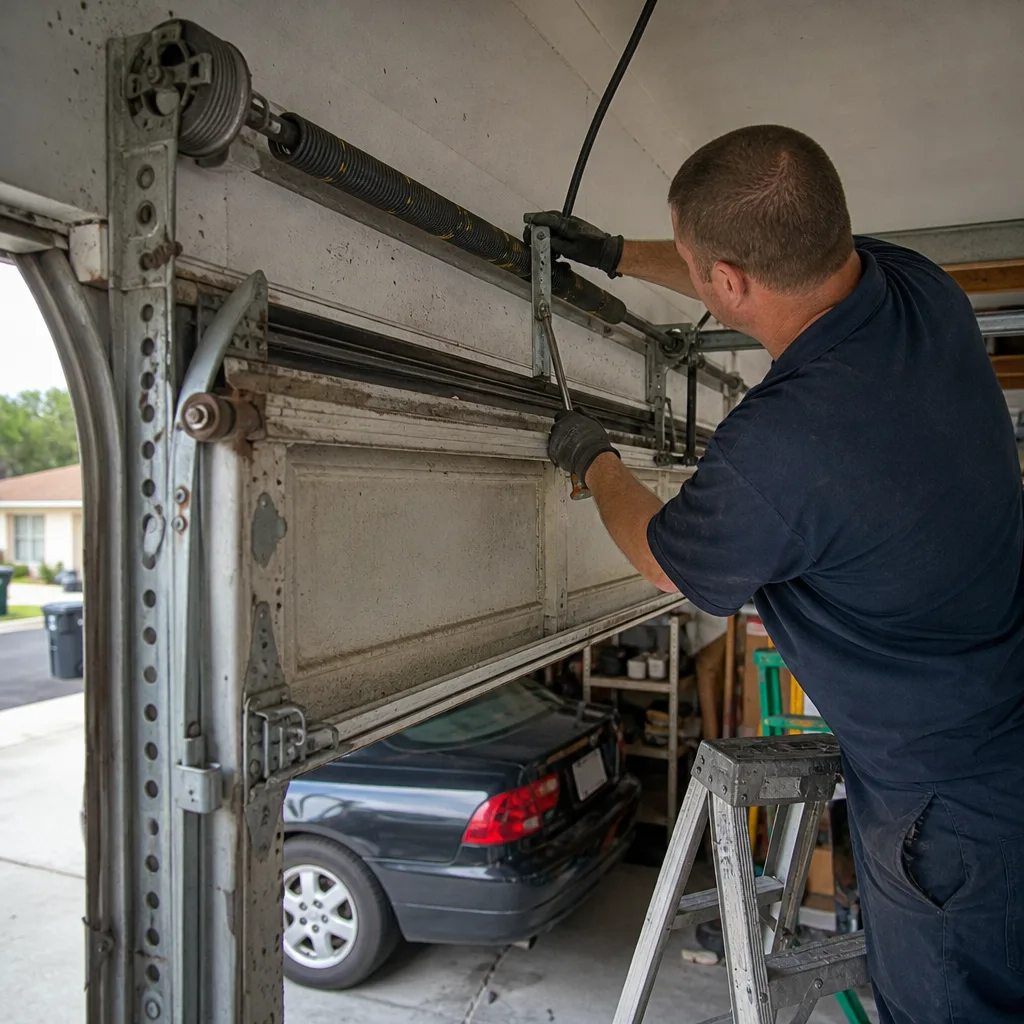 Before
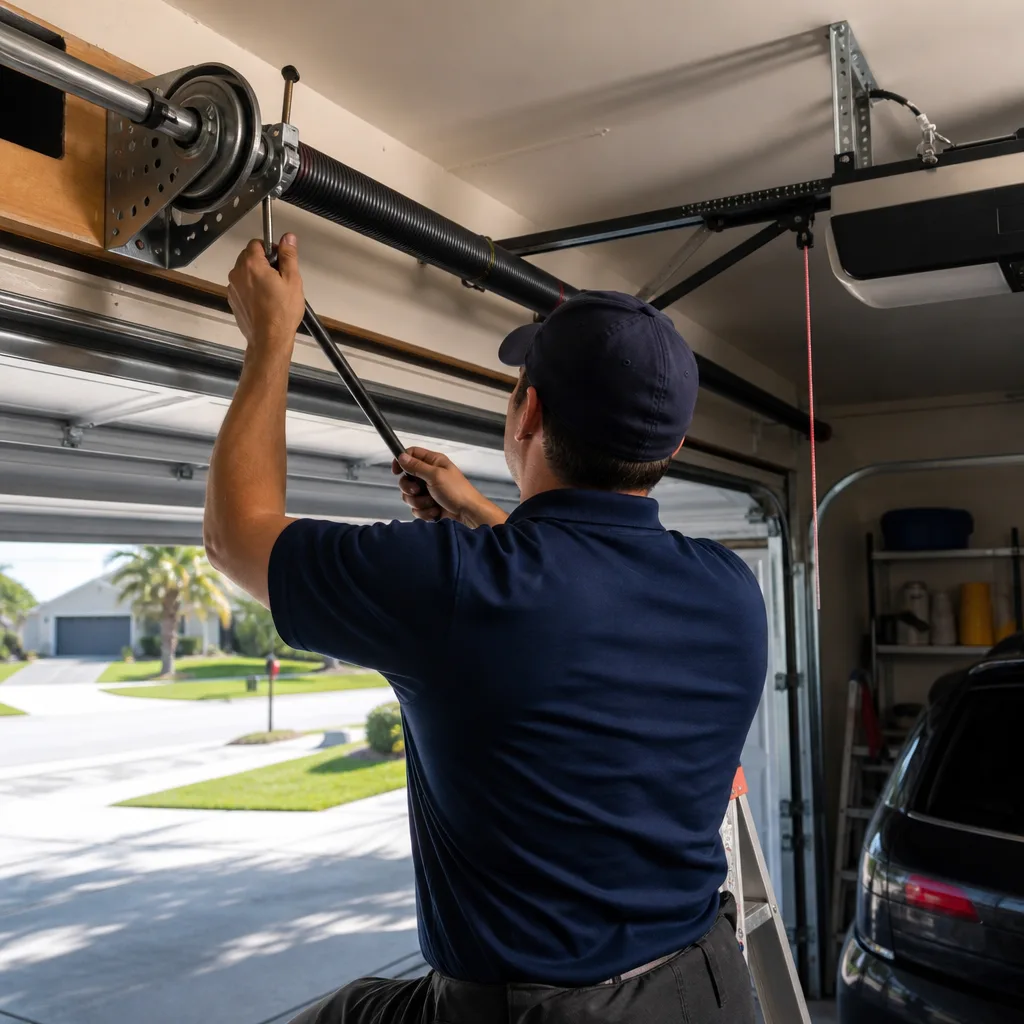 After
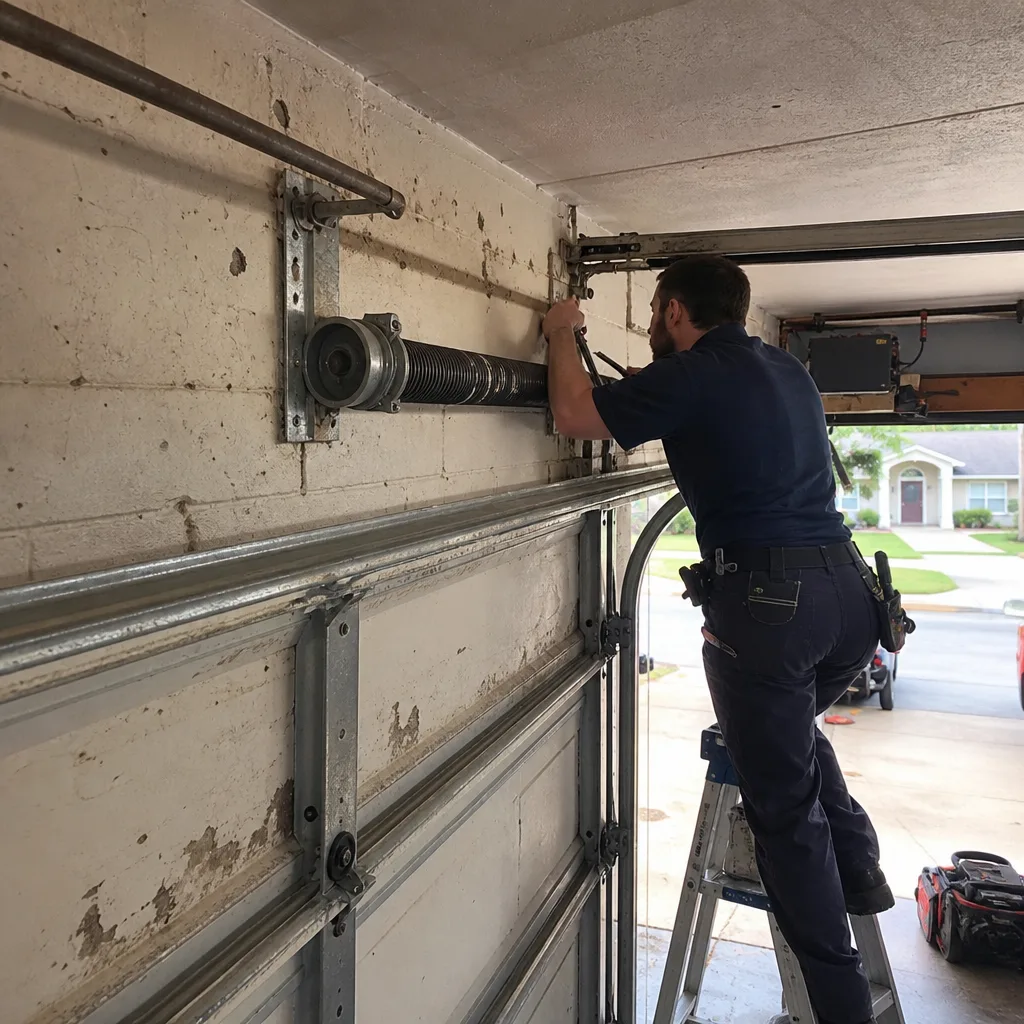 Before
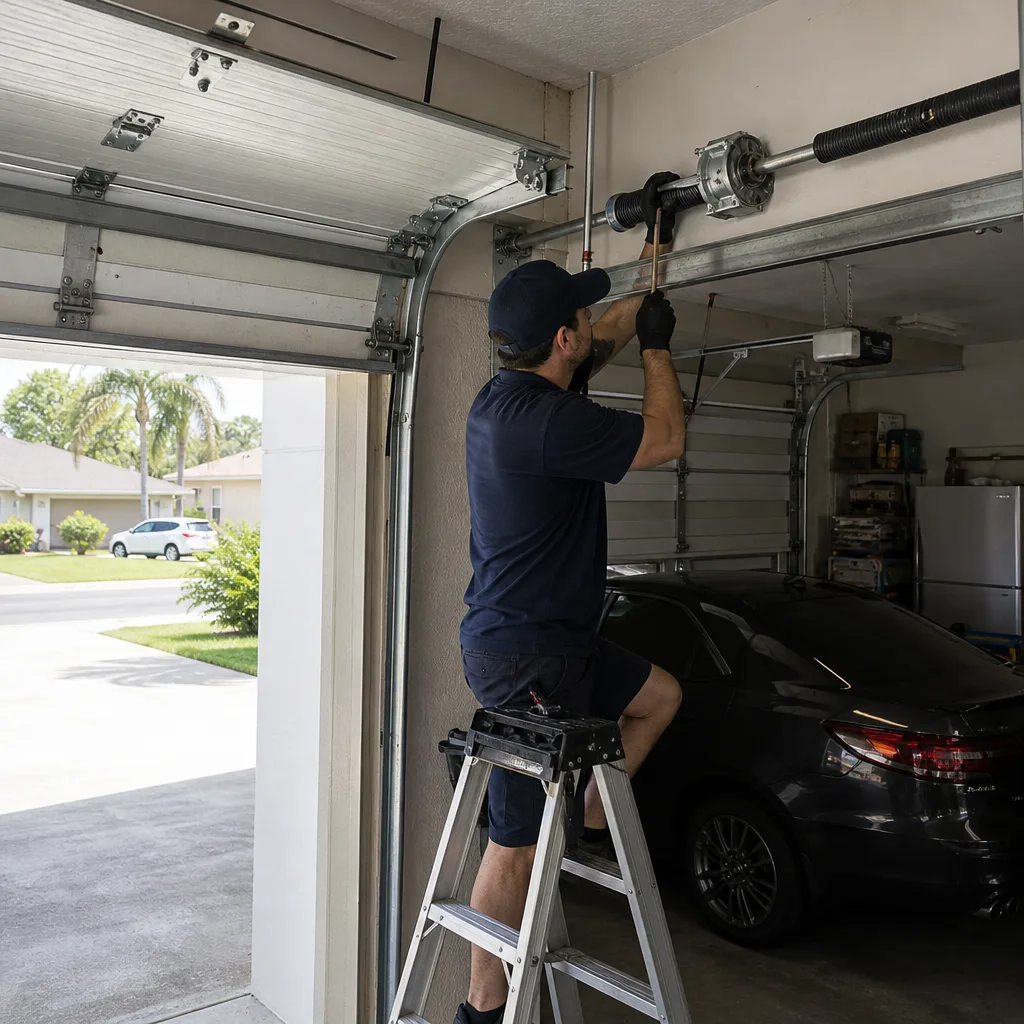 After
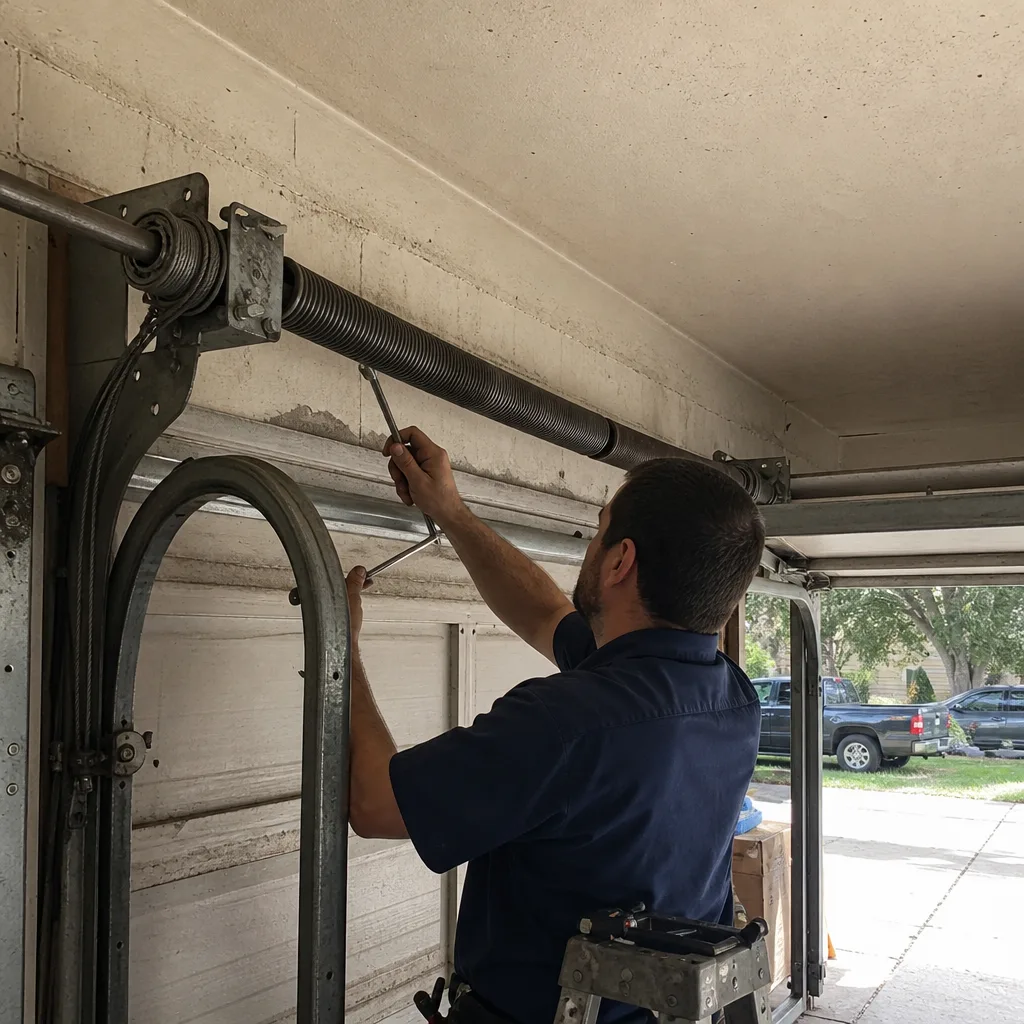 Before
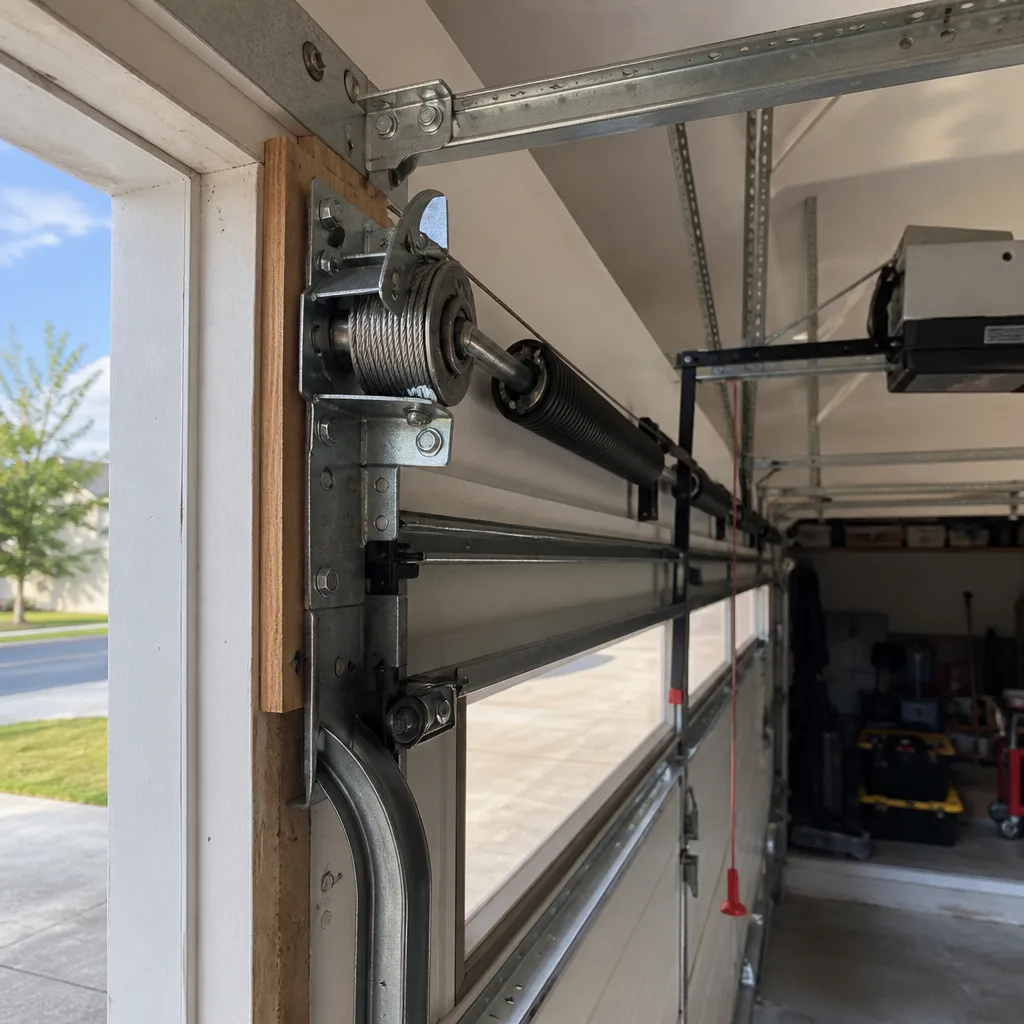 After