
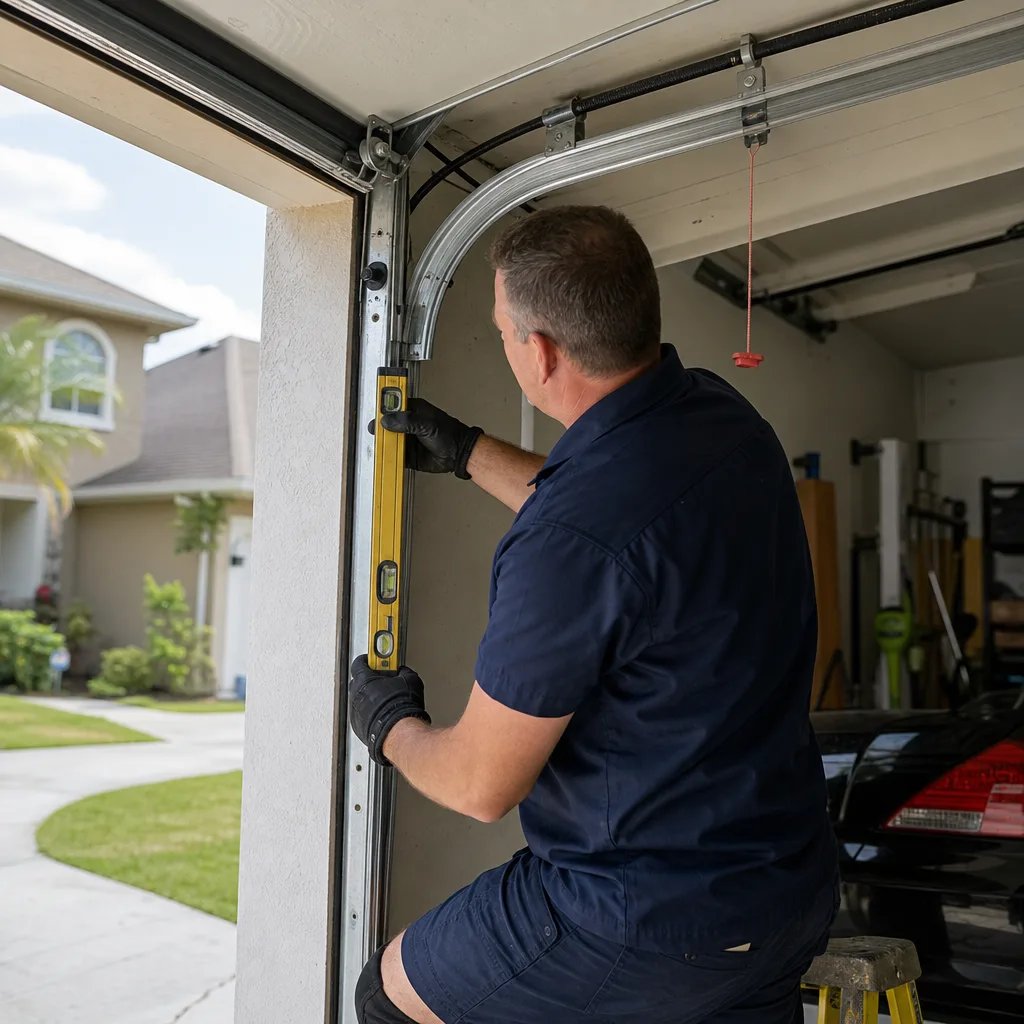
Last updated October 31, 2026
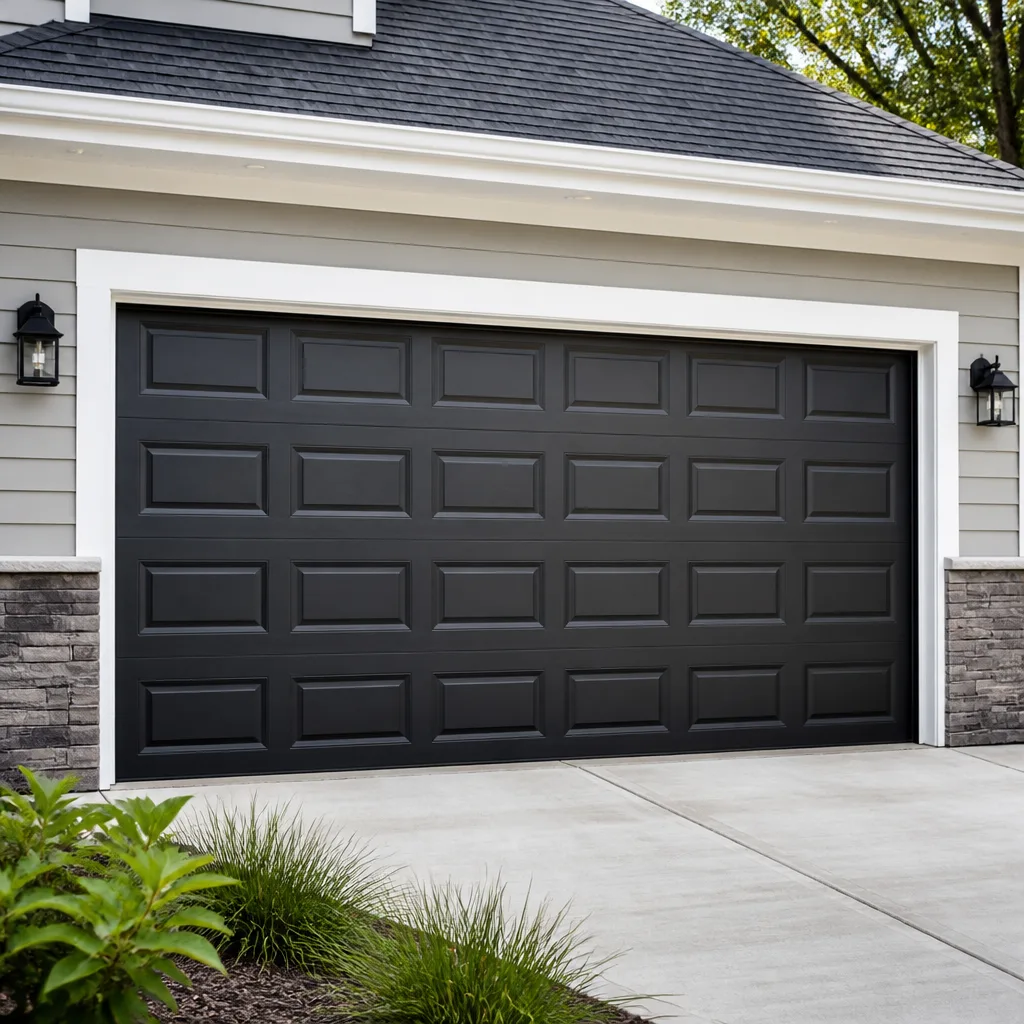 Raised-panel steel
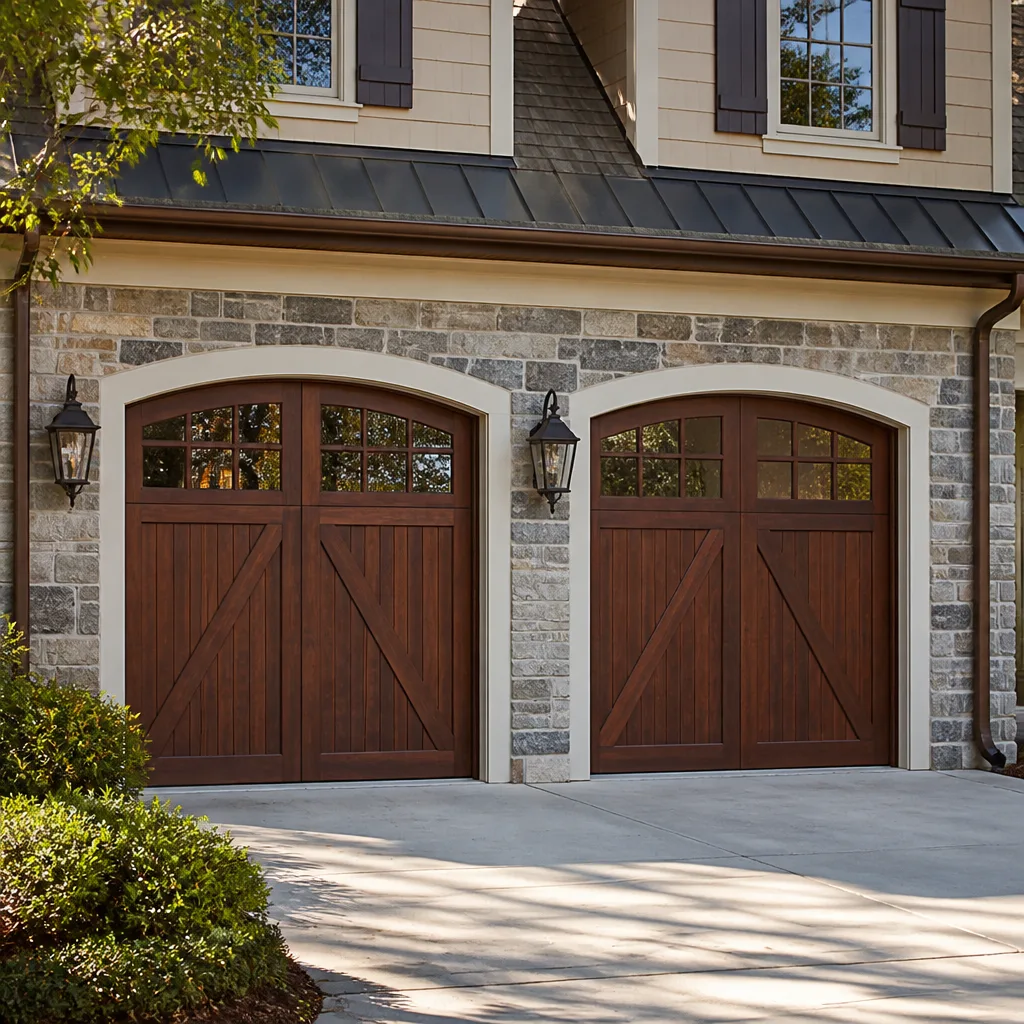 Carriage house
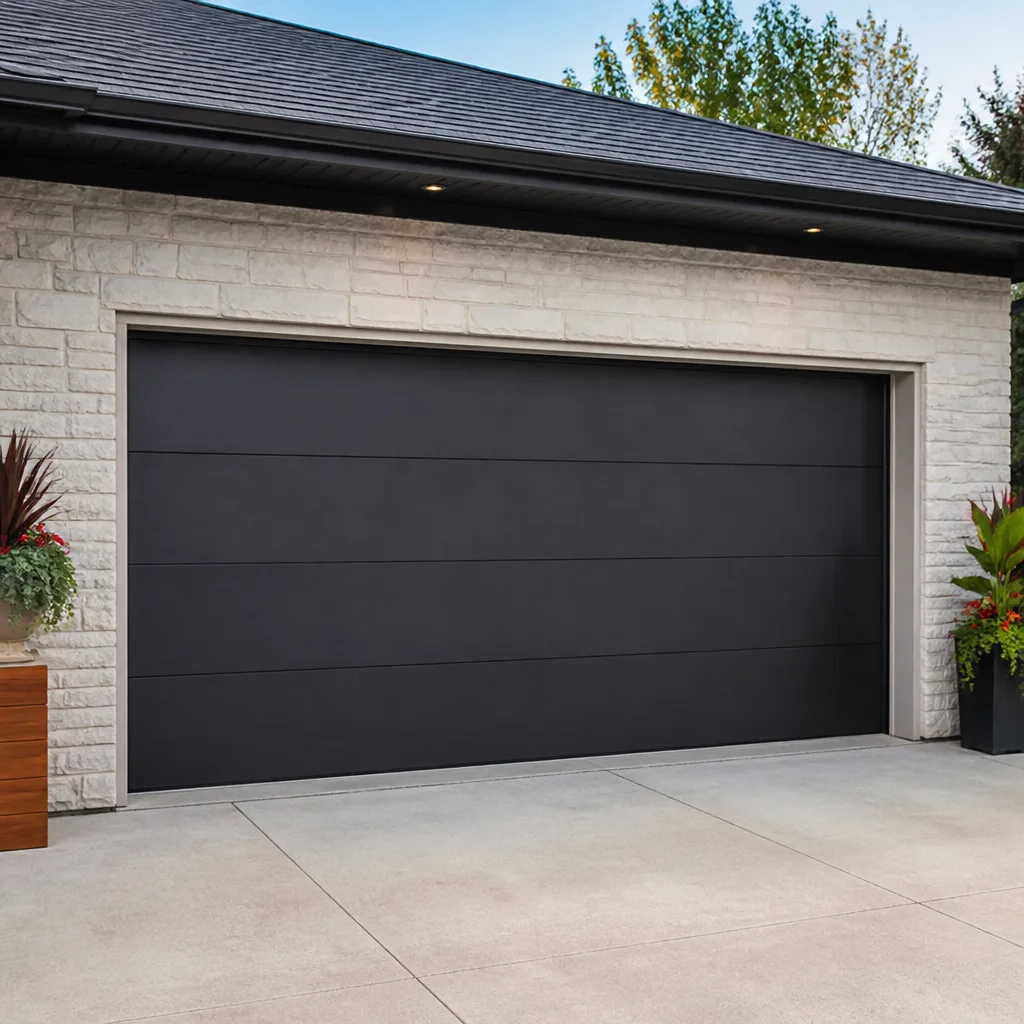 Modern flush
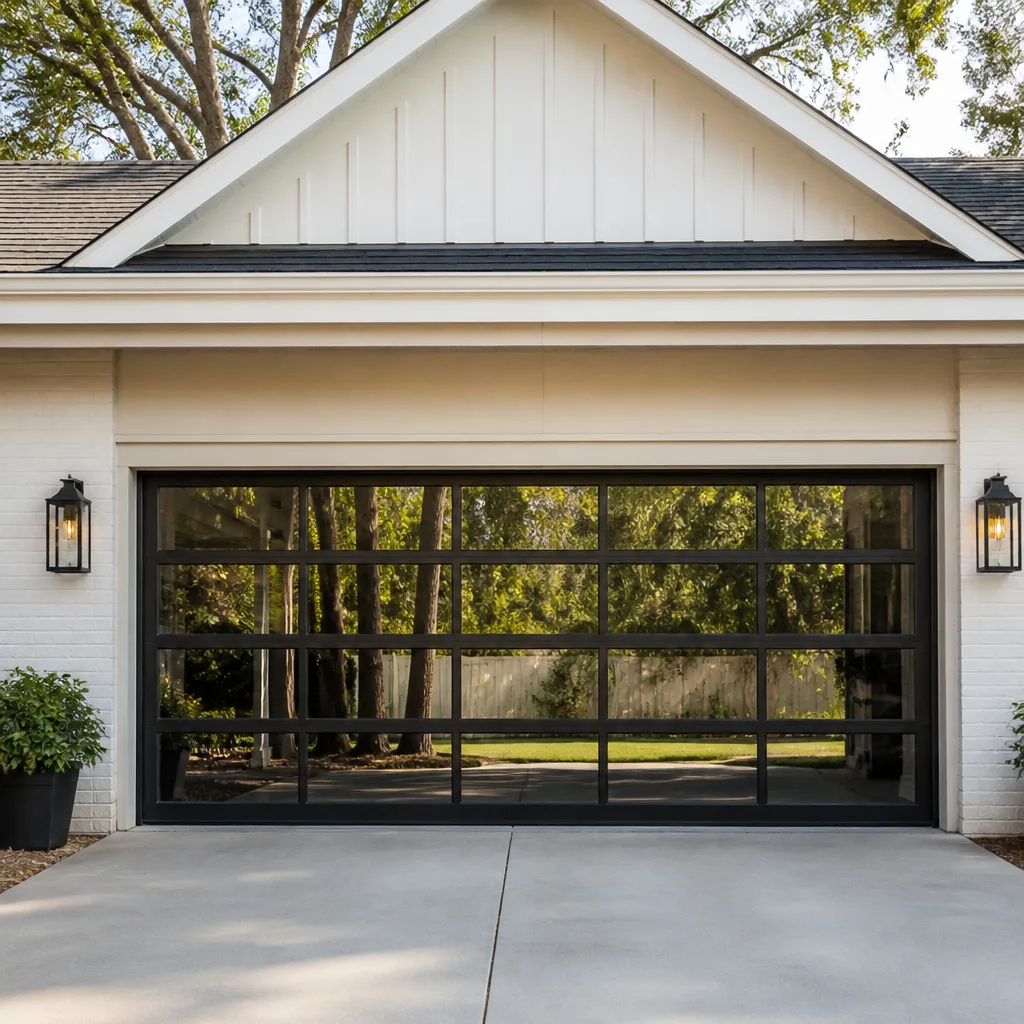 Full-view glass
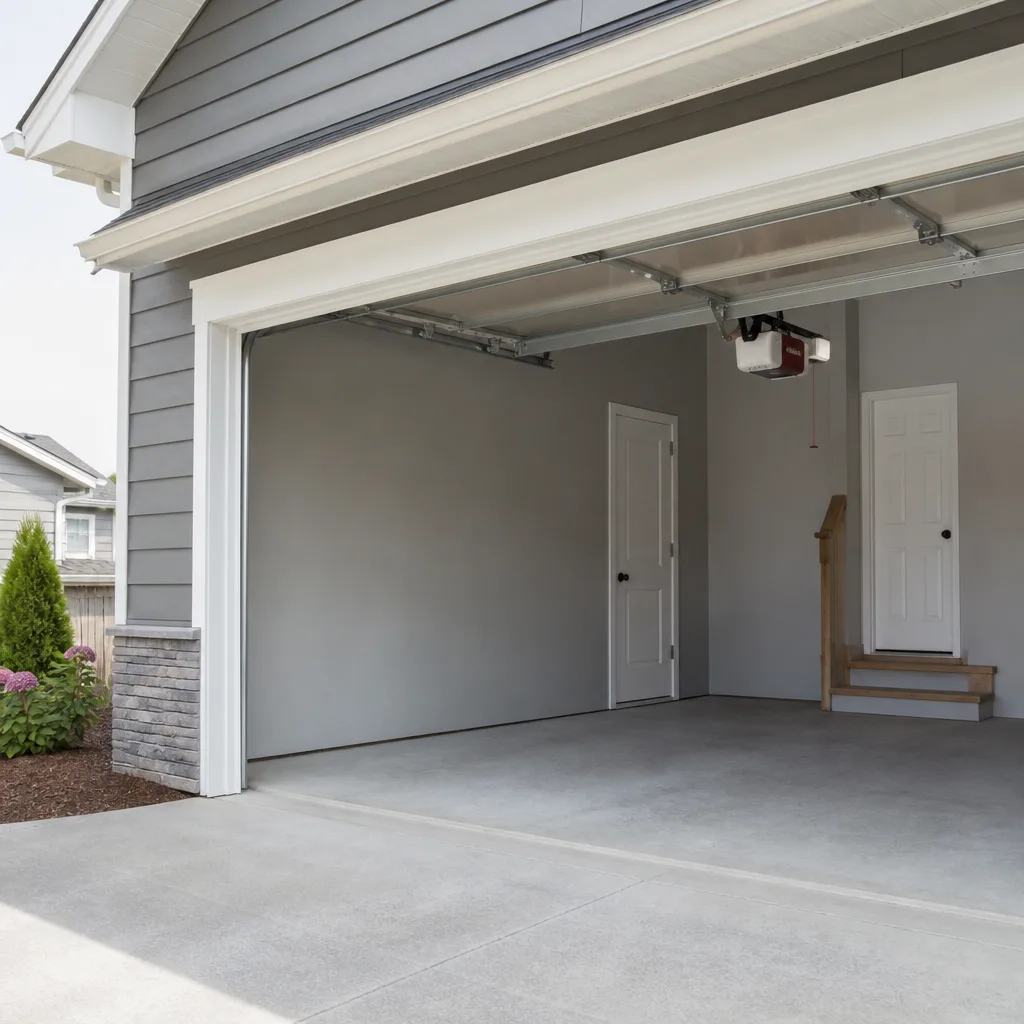 LiftMaster openers
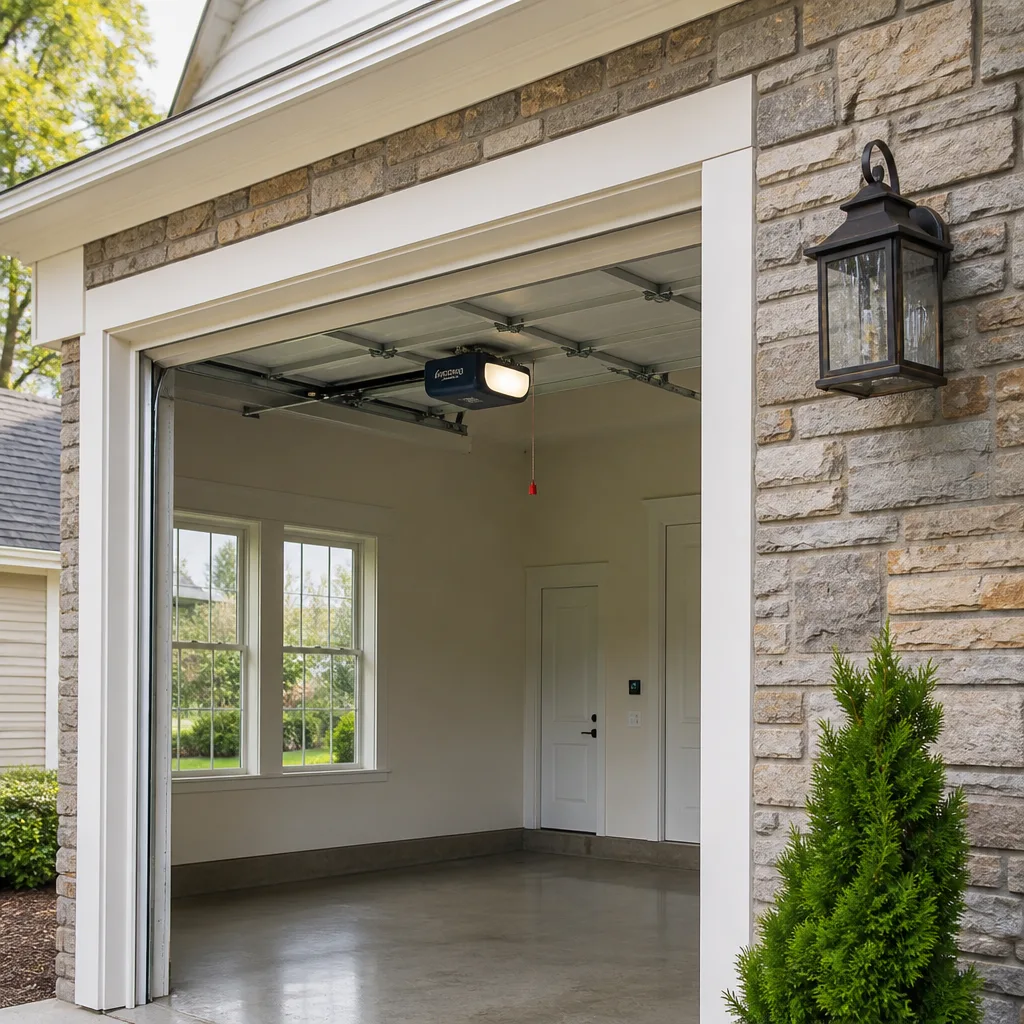 Chamberlain openers
Full 25-point door and opener safety check with every visit - springs, cables, rollers, tracks, and your LiftMaster or Chamberlain opener included
You get a price before we start. It does not change when the truck arrives.
Get your free estimateDIY vs Professional Garage Door: The Lakeland Homeowner’s Decision Guide
A torsion spring on a double-wide garage door holds roughly 150 to 250 pounds of torque when fully wound. It can send a steel winding bar through drywall, shatter a forearm, or worse when it lets go. But oiling your rollers and realigning a photo eye? That’s weekend work that costs under $20. Most garage door advice doesn’t distinguish between these two realities. This guide draws the line precisely, task by task, for Lakeland homeowners, and you can find more guides & resources on our blog. By the end, you’ll know which five jobs you can safely handle yourself, which four you should never touch, and what each actually costs in Polk County’s market.
Quick Answer
For Lakeland homeowners, DIY is reasonable and safe for five specific jobs: lubrication, sensor alignment, remote reprogramming, weather seal replacement, and manual release operation. Professional service is non-negotiable for spring replacement, cable work, track realignment, and opener motor replacement, because those failures happen under mechanical load and carry significant injury risk. Everything else falls somewhere in between depending on your tool set and how much time you actually have.
Styles & brands we work with
Table of Contents
- Why Torsion Springs Are Categorically Different
- The Five DIY-Safe Tasks (With Step-by-Step Instructions)
- The Four Jobs That Require a Trained Professional
- What DIY Actually Saves You in Lakeland (Real Numbers)
- The Risk-Adjusted Cost of Getting Spring Work Wrong
- How to Be an Informed Customer When You Do Hire a Pro
- Common Mistakes to Avoid
- When to Call a Professional
Why Torsion Springs Are Categorically Different
Every garage door you’ve ever seen operates on stored mechanical energy. The springs, not the opener motor, do the heavy lifting. A typical residential door weighs between 150 and 250 pounds. The opener motor on top exists to guide the door along its track, not to bench-press it. The springs carry the weight.
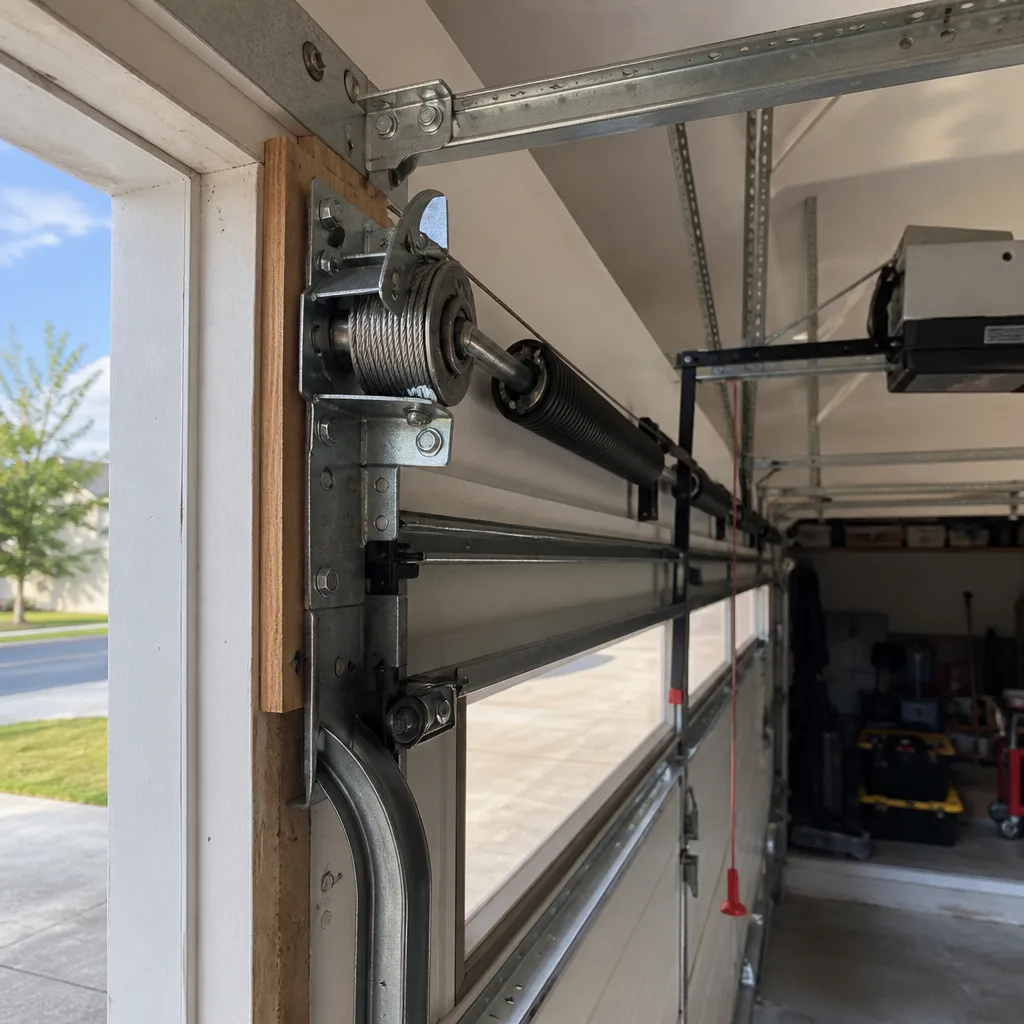
On most doors built after the late 1980s, that means torsion springs: thick coils mounted horizontally above the closed door on a steel shaft. When the door goes down, those springs wind up. When you press the button, the springs unwind and push the door up. That stored energy is concentrated and sudden. An unwinding torsion spring doesn’t slow down for your hand. It doesn’t skip the impact because you read a forum post about being careful.
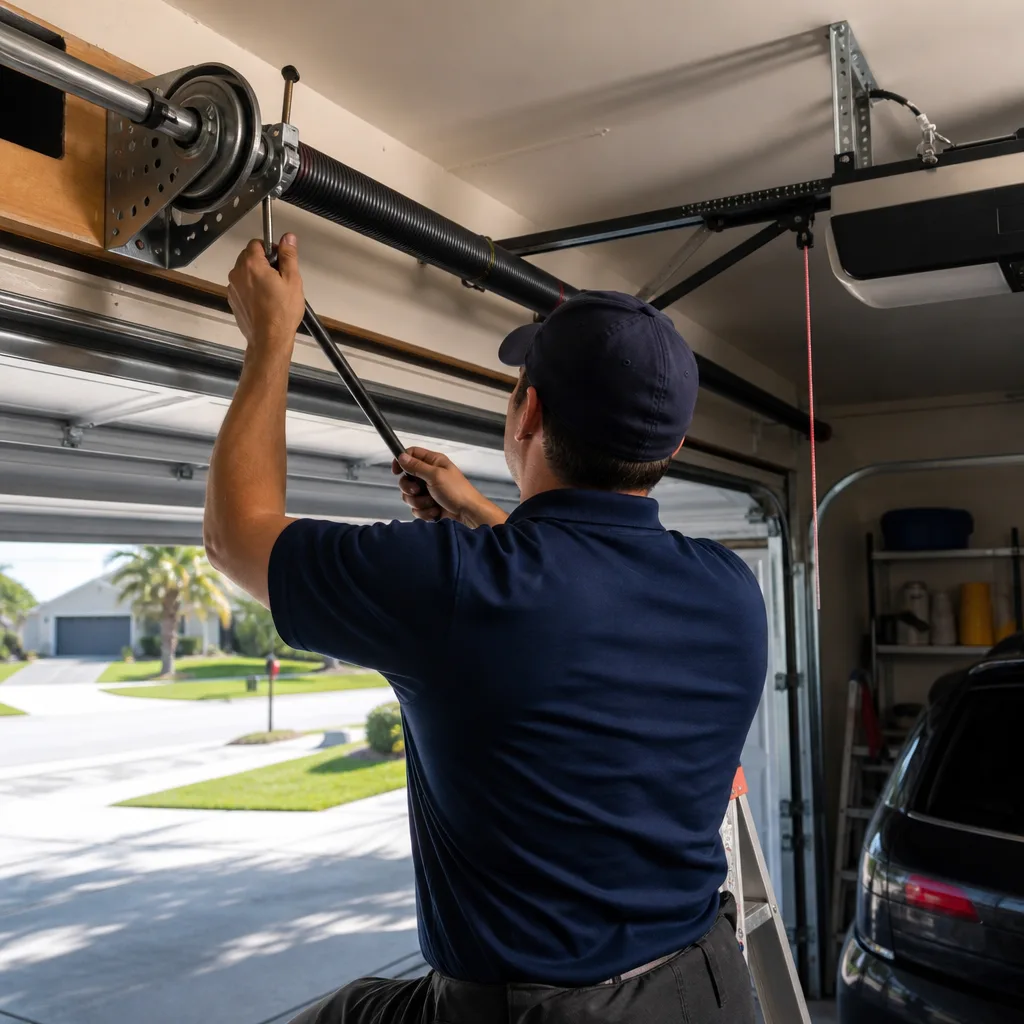
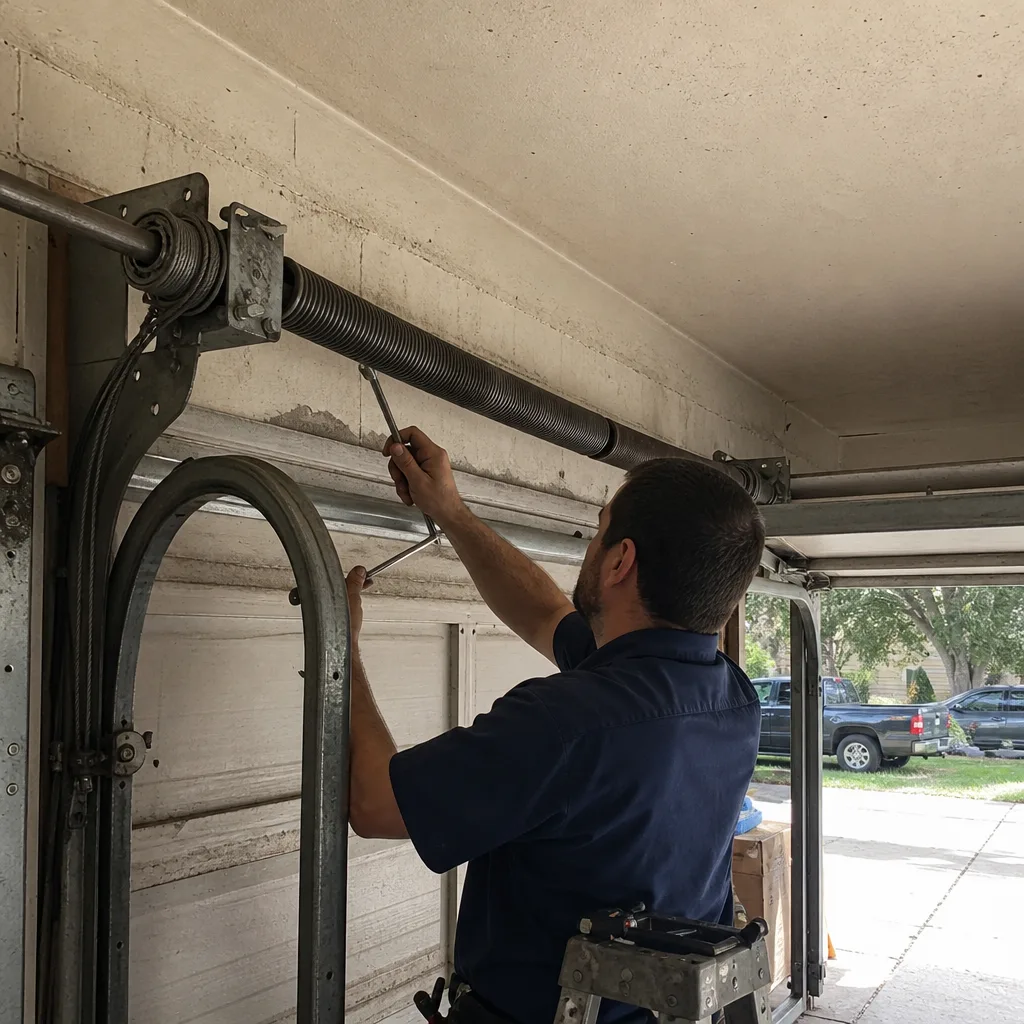
What injuries look like when it goes wrong, in plain terms: a winding bar kicked out of a spring cone becomes a steel projectile moving fast enough to penetrate a car door. Hands caught between the winding bar and the spring cone suffer crush injuries that frequently require surgical repair. We’ve seen garage ceilings with holes punched through them from bars that kicked loose. The physics doesn’t care about your experience level. This is why professionals use hardened winding bars of an exact diameter, not screwdrivers or socket extensions, and why they position their body out of the bar’s rotation path before applying tension.
In Lakeland, this matters enough to repeat: torsion spring tension adjustment is the one garage door task where a mistake can permanently alter how you use your hand. It’s not a money issue. It’s a mechanical risk that no homeowner needs to take.
The Five DIY-Safe Tasks (With Step-by-Step Instructions)
These five jobs meet three criteria: no spring tension involvement, no lifting the door’s full weight, and no system-critical adjustment that changes how the door balances. Each takes under an hour. Each uses tools you already own or can borrow. And each saves you a service call fee in Lakeland that typically runs $75 to $150 before any parts or labor are added.
1. Lubrication
- Close the door. Disconnect the opener via the red manual release cord (if your opener’s mechanism stays accessible after release, great; otherwise do this job with the opener connected but the door closed).
- Apply white lithium grease to the torsion spring coils. Do not use WD-40 as your primary lubricant; it’s a cleaner, not a proper garage door lubricant, and it strips the grease that keeps the spring quiet.
- Apply silicone-based spray to the roller stems and hinges. Do not lubricate the roller bearings themselves if they’re sealed nylon, which most modern doors are; oil attracts dust that accelerates wear.
- Run the door up and down twice to distribute the lubricant.
Do this twice a year in Lakeland. Our humidity accelerates rust on metal components, and the fine dust that blows in from Florida thunderstorms settles into any wet lubricant and turns into grinding paste. January and July are good markers: after the holidays and mid-summer.
2. Sensor Alignment
Most “broken opener” calls in Lakeland are actually misaligned photo eyes. The two sensors sit about six inches off the ground on each side of the door opening. One sends a beam, the other receives it. If that beam breaks, the door won’t close.
- Check that both sensors have a solid green (or red, depending on brand) indicator light. If one blinks, it’s out of alignment.
- Loosen the small wing nut on the sensor bracket enough to move it.
- Manually aim the sensor so its light turns solid, then tighten the nut. A laser level helps, but visual alignment usually works.
- Test by pressing the wall button while standing clear of the door path.
This fix takes five minutes and costs nothing. We recommend trying it before calling anyone, because you’ll feel foolish paying a service fee for a wing nut turn.
3. Remote Reprogramming
If your remote stopped working after a power surge or a battery change, the remote likely lost its code to the opener. Reprogramming is straightforward on LiftMaster, Chamberlain, and Genie openers, the three most common brands in Lakeland homes.
- Find the “Learn” button on the opener motor unit. On LiftMaster and Chamberlain, it’s usually yellow or purple and sits behind a light cover. On Genie models, look for a small black button on the back of the motor head.
- Press and release the Learn button. You’ll see a light come on indicating the opener is in programming mode.
- Within 30 seconds, press and hold the button on your remote until the opener light blinks or you hear a click.
- Test the remote. If it doesn’t work, repeat; some models require you to press the remote button twice the first time.
If you’ve got a lost remote entirely, replacement remotes are available online. Match the model number printed on the back of the opener, not just the brand name. A Chamberlain remote won’t work on a Raynor opener without compatibility verification, and vice versa.
4. Weather Seal Replacement
The rubber strip on the bottom of your door, called an astragal, keeps rain and bugs out. In Lakeland, it also keeps humidity from seeping into your garage and rusting tools, bikes, and anything else you store there. A worn seal shows daylight under a closed door and leaves water pooling at the threshold after storms.
The replacement is straightforward: open the door partway (with the opener or manually), pull the old seal out of its track, and slide the new one in from one end. No glue, no fasteners. Make sure you buy the right profile. A T-style seal fits most residential aluminum retainer channels, but a bead-style seal fits older wood doors. If you’re unsure, cut off an inch of the old seal and take it with you to the supplier. This is a $20 to $40 job that takes 15 minutes, and it meaningfully extends the life of your garage floor and everything sitting on it.
5. Manual Release Operation
Every garage door opener has a red cord hanging from the trolley. Pulling it disconnects the door from the opener, allowing the door to operate manually. This is a safety feature and an essential skill during Florida’s frequent power outages, which Lakeland sees during afternoon thunderstorms and hurricane season. For a full plan, read our Garage Door Emergency Preparedness Guide for Lakeland Homes.
- Pull the red cord straight down and toward the door until you feel it detach. The opener is now disconnected.
- Lift the door manually from the bottom handle (or the pull rope, if your door lacks a handle). The door should lift smoothly with one hand and stay put when held halfway, if the springs are in good condition.
- If the door is extremely heavy or slams shut when you let go, your springs have failed and you need professional service. Do not attempt to operate that door further.
- To re-engage: pull the red cord again, then press the opener button once. The trolley will catch on the release mechanism and reconnect.
Test this once a year, ideally during a non-emergency moment. Finding out your release mechanism is sticky during a blackout is a preventable frustration.
The Four Jobs That Require a Trained Professional
These tasks share a common thread: they involve spring tension, full door weight, or power tools near amplified mechanical force. Do not attempt them as a learning experience. The physics is unforgiving, and Lakeland’s humidity quietly corrodes fasteners and brackets, meaning bolts that look solid can shear under load without warning.
1. Spring Replacement
Torsion and extension springs both fail eventually. Most residential springs are rated for 10,000 cycles, which translates to roughly 7 to 12 years of daily use. When one breaks, you’ll hear what sounds like a gunshot from your garage. The door won’t open, and if it’s an extension spring, you’ll see the two dangling halves on each side of the track.
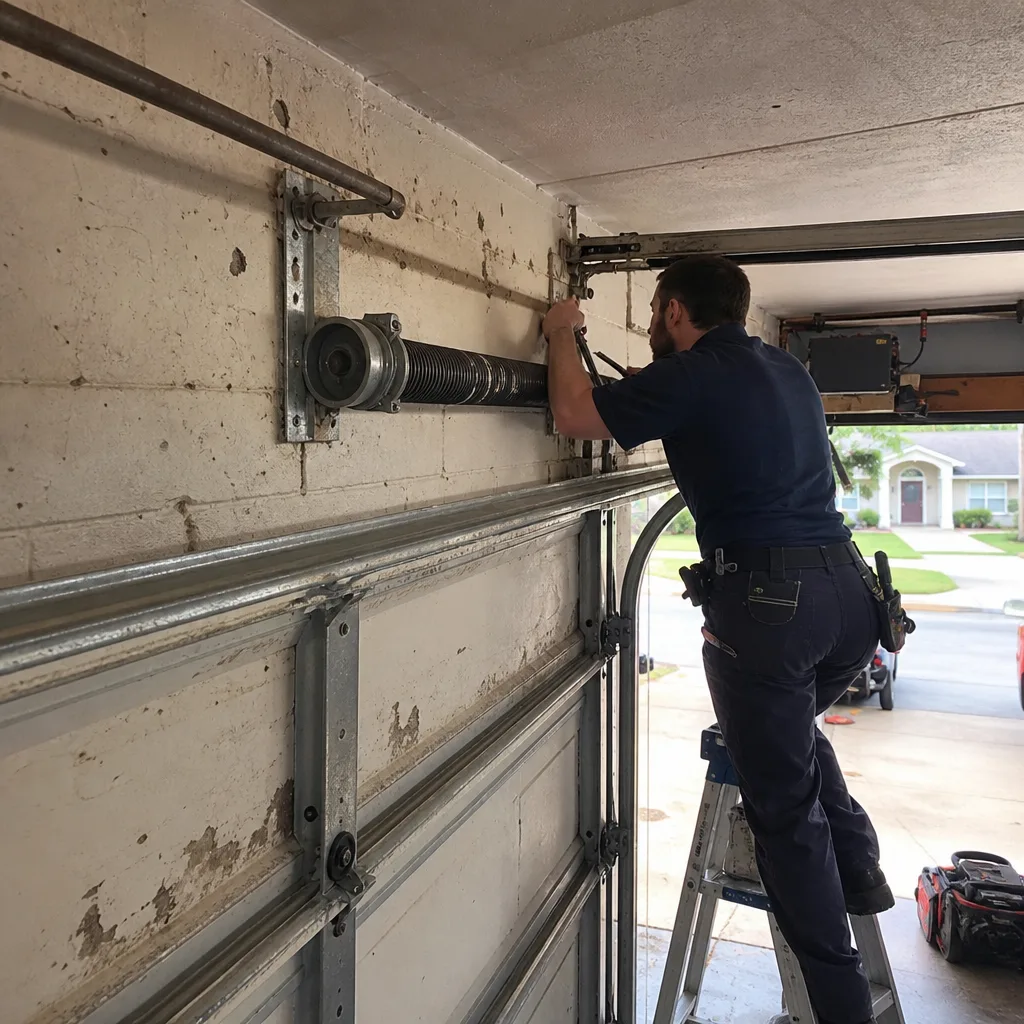
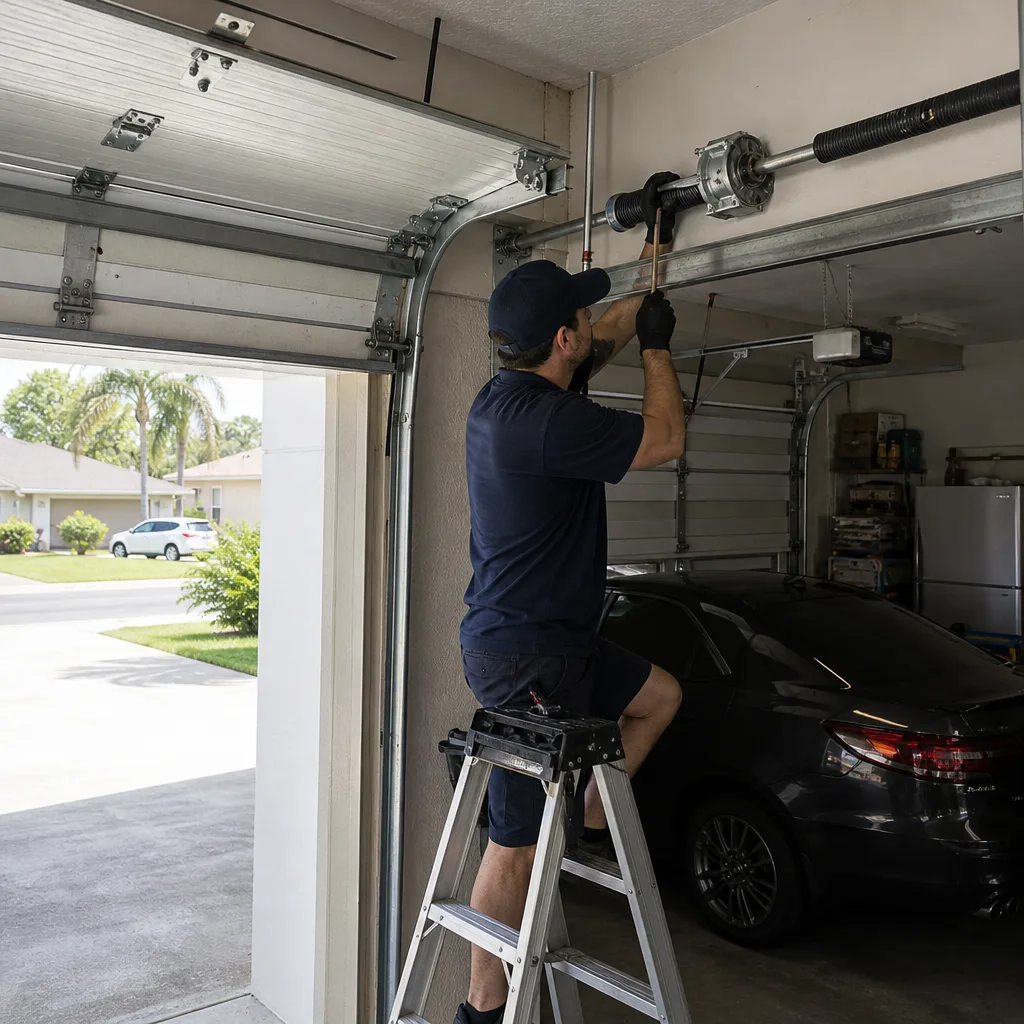
This is categorically the most dangerous garage door repair that exists. Spring replacement requires unwinding the old spring (or the intact surviving spring, which carries equal tension), removing the old cones and bolts, measuring the old spring’s dimensions and wire size exactly, installing the new spring, and winding it to the manufacturer-specified number of turns. Every step happens under load. The professional reason this exceeds DIY scope isn’t experience-level snobbery: it’s that a professional is positioned correctly, uses hardened bars of the proper diameter, and knows what failure looks like before it happens.
2. Cable Work
The cables run through the springs and down each side of the door to the bottom bracket. They bear the spring tension across the full range of door travel. A frayed cable under the tension of a wound torsion spring is a loaded firearm. If it snaps during handling, the loose cable end unspools with enough force to break fingers and the door drops suddenly into whatever is beneath it.
Cable replacement also involves the bottom bracket, which is under constant spring tension. You cannot safely remove a cable from a torsion spring door without first releasing that tension, which means you’re already in the danger zone described above. This is a full professional job, no exceptions.
3. Track Realignment
Vertical and horizontal tracks guide the door in both directions. When they get knocked out of alignment, usually from a vehicle bump or a failed roller, the door binds, grinds, or comes off track entirely. The natural homeowner impulse is to grab a hammer and nudge the track back into place.
Here’s the specific problem in Lakeland: a door that has been running on a misaligned track wears its rollers unevenly. Those rollers can be ready to fail. When you hammer a track back into alignment, you put lateral force on mounting brackets that may already be fatigued, and if a roller fails at the same moment, the door’s full weight can shift suddenly. Track realignment also requires checking the door’s balance afterward, which means releasing the opener and testing spring function, which circles back to the tension problem. This job needs someone who can diagnose the alignment issue, replace any compromised rollers, and verify the door operates freely without binding. Note that some repairs may require permits; see Garage Door Permits, Codes & Inspections in FL: What You Need to Know for details.
4. Opener Motor Replacement
If your opener hums but won’t move the door, or the motor is dead and you’ve ruled out the circuit breaker and wall outlet, the motor unit needs replacement. This involves wiring at line voltage, mounting a motor that weighs 30 to 40 pounds overhead, and programming the unit to communicate with your remotes and safety sensors.
The mechanical mounting is the easier part. The wiring is not. A 120-volt connection inside a metal motor housing in a humid Florida garage is not a place to learn how stranded copper connectors work. Undersized wire nuts, reversed polarity, or a loose ground can cause intermittent faults that don’t show up for weeks. Professionals also verify that the new opener’s force settings are calibrated correctly. An opener set too strong will bend a door or crush an obstruction; set too weak, it reverses constantly and wears out the motor prematurely.
What DIY Actually Saves You in Lakeland (Real Numbers)
Let’s talk about what each category actually costs in Polk County, because the DIY vs. professional calculation only makes sense with real numbers attached. These figures reflect typical market rates for residential garage door work in Lakeland, not national averages that don’t apply to our region. For a deeper dive, see our Garage Door Cost Breakdown: The Lakeland Homeowner’s Reference for 2026.
DIY-Safe Tasks: True Savings
- Lubrication: Supplies cost $15 to $25. Professional service (if you call someone to do it): typically $80 to $125. Your DIY savings: $55 to $100 per session, twice a year, every year.
- Sensor alignment: Cost is zero if you already own a screwdriver. Professional callout: $90 to $140, even when it’s just a five-minute fix. Your DIY savings: $90 to $140 for ten minutes of work.
- Remote reprogramming: Cost is zero for guidance via the owner’s manual or a YouTube video specific to your brand. Professional service: $75 to $110. DIY savings: the full fee.
- Weather seal replacement: Seal material runs $20 to $40 at a Lakeland home improvement retailer. Professional replacement: $90 to $150 including the mark-up on materials. DIY savings: $50 to $110.
- Manual release test: Cost is zero. There’s no professional equivalent; testing your release is always your job. The savings here is the avoided diagnostic fee if you misidentify a release mechanism issue as an opener failure.
What the Savings Add Up To
Across a year, a Lakeland homeowner who handles these five tasks DIY saves somewhere between $250 and $500, depending on how many times per year their door needs attention and whether they’d otherwise call for trivial issues. That’s real money. It’s also the entire scope of what we recommend homeowners take on.
From that baseline, the professional-required jobs make financial sense in their own way. Spring replacement in Lakeland typically runs $180 to $340 for a standard pair of torsion springs, installed, with the majority of reputable companies landing in the $220 to $280 range. Cable replacement runs $140 to $220 per side. Track alignment runs $120 to $200 depending on whether brackets need replacement. Opener motor replacement runs $300 to $550 for a quality belt-drive unit installed, with the motor itself representing 60% to 70% of that cost.
When you hire a professional for these jobs, you’re not paying for the parts. You’re paying for the loaded-tension environment the work happens in, the correct tools for that environment, and the body of hard-won experience that protects the person doing the work from becoming a statistic.
The Risk-Adjusted Cost of Getting Spring Work Wrong
Let’s be clear-eyed about what “saving” $280 on a DIY spring replacement really costs when it goes wrong, which it does with enough frequency that every Lakeland emergency room physician has seen the results.
The visible cost of a bad spring repair, the one that fails immediately or within days, usually starts with the door falling onto your car, your workbench, or whatever was under it. That’s a few hundred to a few thousand dollars in property damage, independent of the failed repair itself. Then the door itself is off the track or jammed, and you’re calling a professional anyway, who now has to extract a door that’s wedged into a position that makes the repair harder and therefore more expensive than if it had been handled correctly from the start.
The invisible cost is medical. A winding bar that slips out of a spring cone hits with the force of a hammer swung at full strength, but the impact surface is the edge of a steel bar. Hand injuries from this specific failure mode are severe. The surgery to reconstruct a crushed hand runs into the tens of thousands of dollars before you account for lost work time. A single ER visit for a suspected fracture starts at several hundred dollars with co-pay, even with good insurance. These are not hypothetical numbers. This is the range Lakeland homeowners expose themselves to when they attempt torsion spring work without professional training.
The real cost-benefit analysis looks like this: a DIY spring replacement saves you $280 on parts and a few hours of labor, against a nonzero probability of a five-figure medical bill or a broken hand. Every financial decision involves risk, but this one carries an asymmetry that no rational person accepts once they understand it. The five DIY-safe tasks listed above carry no such tail risk. The line between them is the line between sensible self-sufficiency and unnecessary exposure.
How to Be an Informed Customer When You Do Hire a Pro
When you’ve decided to hire a professional for a garage door repair in Lakeland, what you don’t know could cost you more than what you do know. Here’s how to approach the process like someone who understands the equipment.
What to Watch For
A qualified garage door technician starts by opening and closing the door manually, with the opener disconnected. This is non-negotiable. If the tech arrives and immediately starts working with the opener still engaged, you have a problem. Manual operation isolates the door mechanics from the opener mechanics, and it’s the only way to accurately diagnose spring condition, cable integrity, and balance. Watch for this step in the first five minutes.
The tech should also look at both springs, both cables, both tracks, and every roller. A thorough visual inspection takes thirty seconds. If someone only looks at the part you pointed to, you’re getting a parts-swap, not a repair.
What to Ask
- “Should the springs be replaced in pairs?” If the answer is yes, you’re talking to someone who understands that spring cycles wear evenly across both springs, and replacing one spring on a paired system creates uneven tension that shortens the life of the new spring. Most manufacturers recommend pair replacement on torsion systems.
- “What spring cycle rating are you installing?” Quality springs come in 10,000, 20,000, or even 30,000 cycle ratings. Higher cycle ratings use better wire and last years longer. A technician who can answer this question knows their materials. One who can’t is a concern.
- “Do you carry parts for my brand on the truck?” If you have a Raynor door, and the tech doesn’t have Raynor-compatible hardware, you may be waiting on a special order. A specialist who works across all eight major brands, including LiftMaster, Chamberlain, and Genie openers, will either have the parts or know exactly what to bring.
What to Verify Before the Tech Leaves
- The door operates smoothly by hand, staying at the halfway point without rising or falling.
- The opener reverses when it hits a 2×4 laid flat under the door. (There’s an adjustment for this; if it’s not reversing, the force setting is wrong.)
- The photo sensors reverse the closing door when you pass your foot through the beam.
- You have the receipt showing exactly what was replaced, the part numbers, and the warranty term.
- There are no unexplained charges. Any reputable Lakeland garage door company quotes a price and sticks to it before work begins.
That last point matters more than people think. The garage door industry, like many home service trades, has its share of high-pressure operators who quote low and finalize high. A precise quote, agreed to before the first tool comes out, is the standard you should hold. If a price changes mid-job, that should only happen because the tech found something genuinely new, showed it to you, and got your sign-off before proceeding.
At Lift Line Garage Door Repair home, the diagnostic process is transparent: we show you what’s worn, what’s broken, and what it costs to fix before any work starts. That’s the floor, not the ceiling, for what Lakeland homeowners should expect from any garage door company.
Common Mistakes to Avoid
- Using WD-40 for spring lubrication. It degrades the grease that keeps torsion springs quiet and accelerates the dry-metal friction that shortens spring life. Use white lithium grease specifically designed for garage door springs, or a silicone-based spray for rollers and hinges.
- Ignoring the manual release cord until an emergency. Lakeland loses power frequently enough that operating your door manually is a necessary skill. Test the release cord once a year before you actually need it.
- Trying to force a door that’s binding. When a door sticks or grinds and you push the opener button harder or longer, you’re loading a suspension system that may already have a failing component. The override is a diagnostic signal, not a workaround. Stop and look for the binding point.
- Replacing one spring on a pair system. This is the most common “money-saving” mistake we see in Lakeland garages. The surviving spring has the same cycle count as the broken one. It will fail shortly, and you’ll pay the labor fee twice when you could have paid it once.
- Buying a replacement remote by brand alone. Not all Chamberlain remotes work with all Chamberlain openers, and a Raynor remote won’t talk to a LiftMaster unit. Match the model number, not the logo, or you’ll waste $40 on a plastic brick.
- Skipping the balance test after any repair. After any professional or DIY work on your door, disconnect the opener and lift the door manually to the halfway point. It should stay put. A door that drops or climbs at midpoint has a spring problem that will eventually damage the opener and the door.
- Assuming new equals better. In the Lakeland market, with our humidity and seasonal rain, a well-maintained older door often outperforms a cheap new one from a big-box retailer. Repair is frequently the better financial choice, which is why our philosophy starts with fixing before replacing. If you’re considering installation, our Garage Door Installation in Jan-Phyl Village guide covers what to look for in a new door.
When to Call a Professional
The short list: if your springs are broken, your cables are frayed, your door is off its track, or your opener motor is dead and you’ve confirmed the outlet and breaker are fine. These are not judgment calls. They are hard stops where the mechanical risk or the electrical risk exceeds what a homeowner should attempt.
There’s also a softer list: if you’ve tried the DIY-safe fixes and the problem persists, if the door makes a noise you can’t identify and it’s been getting worse for a week or more, or if you’re simply not sure whether what you’re looking at is safe to touch. In our experience across Lakeland’s mix of 1970s-era homes and new construction, age is the common factor in most mysterious garage door failures. A 20-year-old Clopay door with original hardware has seen a lot of humidity cycles. Some things just wear out.
Lift Line Garage Door Repair offers free estimates in Lakeland. Call (866) 253-2286 and a garage-door-only specialist will diagnose the issue, walk you through what’s wrong, and give you an exact price before any work begins. If you’re in the Jan-Phyl Village area specifically, we also serve that neighborhood directly for Garage Door Repair in Jan-Phyl Village and Garage Door Opener Repair in Jan-Phyl Village.
See the difference
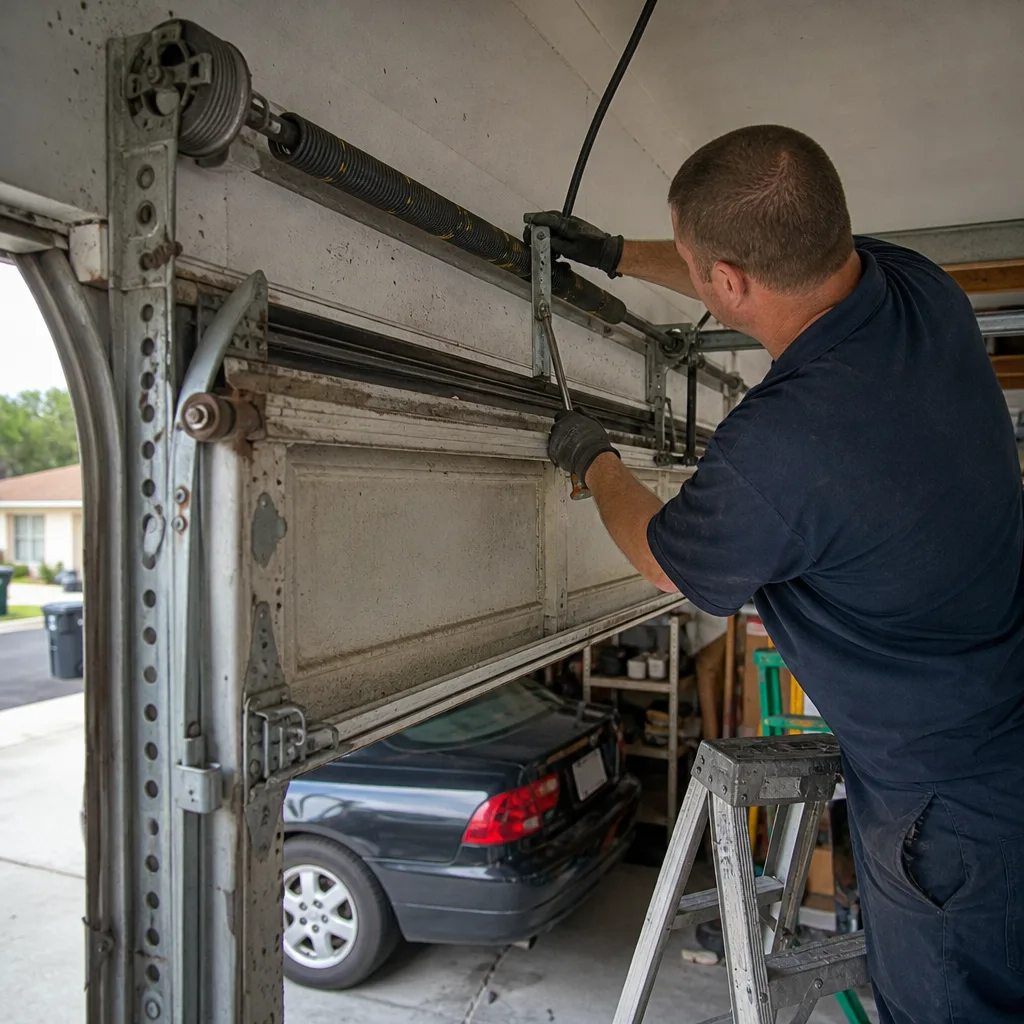 Before
 After
 Before
 After
 Before
 After
Frequently Asked Questions
Physically possible, yes. Advisable, no. Torsion spring replacement requires working under 150 to 250 pounds of loaded torque with specialized hardened winding bars, and the failure mode is a steel bar becoming a projectile. The financial savings of roughly $220 to $280 does not justify the documented risk of hand and arm injuries. Call a professional for this specific task.
A standard pair of torsion springs, installed, typically costs $180 to $340 in Lakeland, with most companies landing between $220 and $280. This includes the springs, the labor, and the tensioning. Call (866) 253-2286 for an exact quote on your specific door, because spring cost varies by wire diameter, length, and cycle rating.
Five tasks: lubricating springs and rollers, aligning photo-eye sensors, reprogramming remotes, replacing the bottom weather seal, and operating the manual release mechanism. Each takes under an hour, costs under $40, and involves no spring tension or full door weight. Everything beyond these five tasks requires professional attention.
Look for a visible gap in the spring coil, usually about 1/8 inch wide where the metal has separated, or a door that suddenly won’t open even though the opener runs. A loud pop or bang from the garage is the classic failure sound. If your door opens only a few inches on the opener and then stops, that’s typically a spring that has lost tension.
Yes. High humidity and frequent rain mean springs and rollers wear faster than in drier climates, and metal fasteners corrode more quickly. We recommend lubricating twice a year rather than once, inspecting cables and brackets for rust during hurricane season prep, and replacing bottom seals as soon as they show daylight to keep moisture out of your garage.
Almost always repair, unless the door itself is damaged beyond structural integrity or you specifically want to change the appearance or insulation level. A repair on a well-maintained door runs a fraction of a new installation. In our Lakeland experience, replacing a door solely because a component failed is the most expensive solution to the smallest problem.
The Bottom Line
The DIY line for garage doors in Lakeland is clear and it’s not about skill. Lubricating rollers, aligning sensors, reprogramming remotes, replacing weather seals, and testing your release cord are safe, cheap, and genuinely valuable to handle yourself. Spring replacement, cable work, track realignment, and opener motor replacement are professional-only jobs because the failure mode under load is not a learning opportunity. When you do hire a pro, watch for the manual door inspection, ask about spring pair replacement and cycle ratings, and verify the auto-reverse before the tech leaves. That sequence puts you in control of the outcome whether you’re holding the screwdriver or watching someone else hold it.
Written by the team at Lift Line Garage Door Repair, serving Lakeland since 2012.